cakes & bakes

Vegan Dark Chocolate Bites

0L8A6297.jpg

I think in life you get certain people that you will encounter that just click with you. People you spend time with and that you feel you have know for a lifetime even if it has only been a day. One such person is Talya Goldberg from Shades of Gold. A fellow blogger whom I met over twitter and our encounter with me winning a Nifty250 voucher (You need to check them out here) I decided I wanted to meet the face behind the Vegan beauty and lifestyle blogger so I tweeted her that we needed coffee.

I must admit I wasn’t expecting the easy company that is Talya nor the fact that we both take coffee rather seriously. I once ordered decaf and I will never live it down! We ended up laughing and chatting away as if we had visited before and truth be told, I am a fan. She is a mover and a shaker. A young entrepreneur and co owner of Nifty250 and Talya tops it off with being vegan. All the while doing it in Prada sunglasses. I decided I wanted to do a simple vegan recipe that was both delicious and fun to make. This is the result of our collaboration!


serves 6

Ingredients:

2 cups desiccated coconut

4 tablespoons maple syrup

5 tablespoons coconut oil

1 teaspoon vanilla

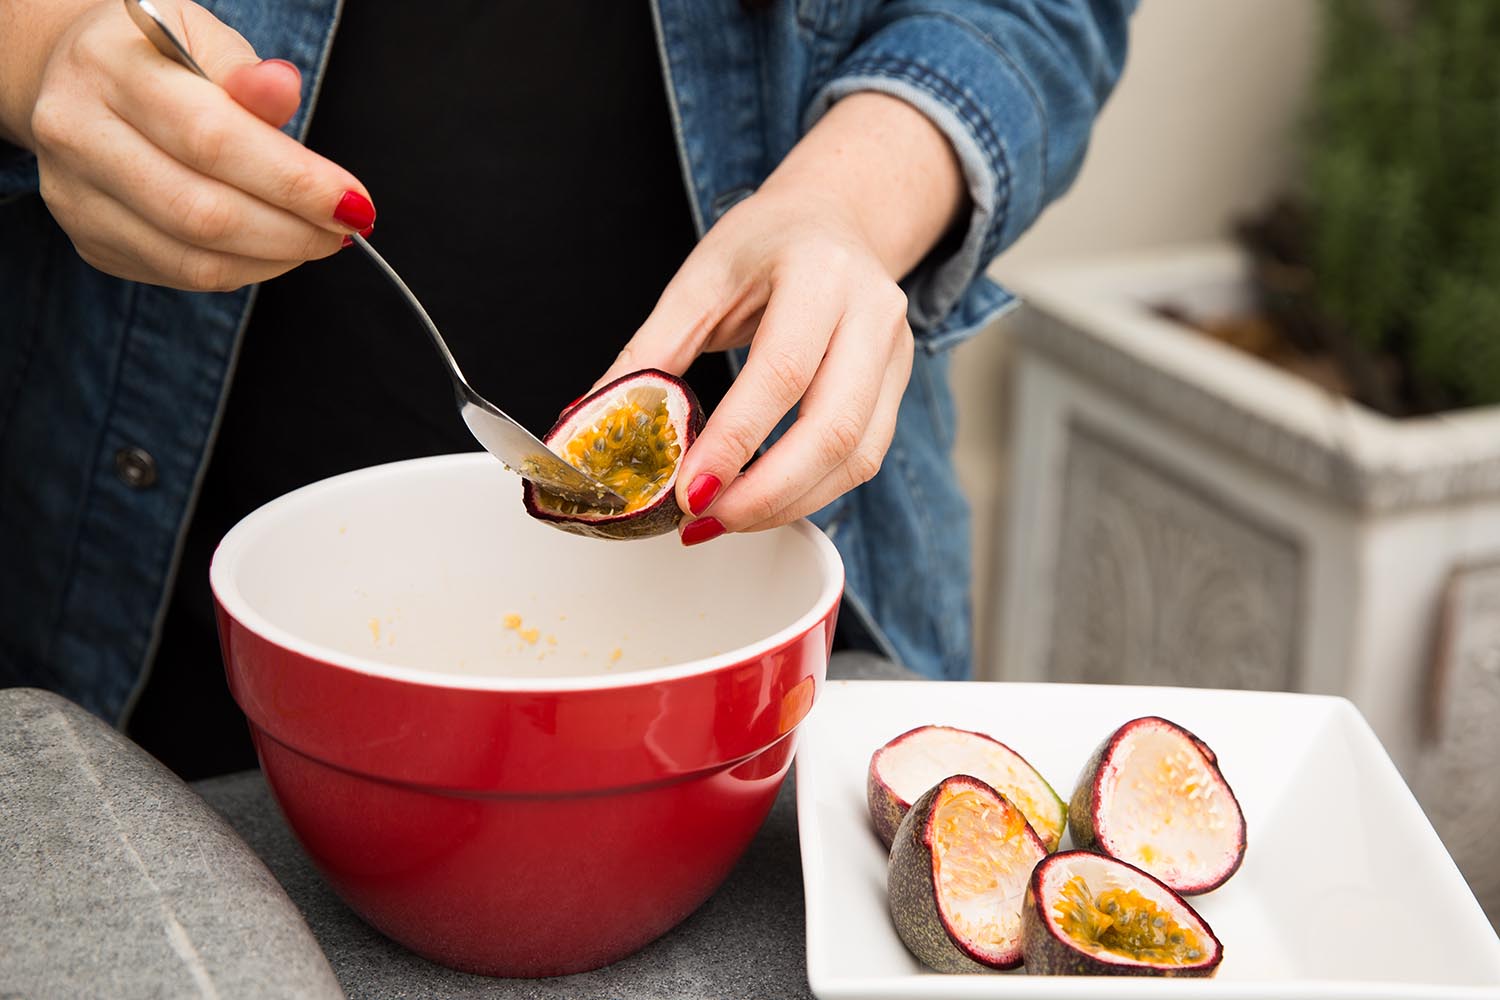
juice and pulp of 3 granadillas

2 tablespoons of chopped mint leaves

200 grams Lindt 85% dark chocolate (or any dark vegan friendly chocolate)


Instructions:

Line a baking tray with grease paper.

Pulse the coconut in a blender or food processor until the texture becomes like thick flour.

Add this to a bowl and mix in the maple syrup, coconut oil, and vanilla. Mix until a thick paste forms.

Half the mixture and add the mint leave to one half and the granadilla pulp to another.

Using your hands, squeeze the mixture into about 18 small balls. The mixture should be sticky enough to roll into balls but if not squeeze between your palms and then shape them from there into rounder balls. Place the coconut balls in the refrigerator for about 30 minutes or until firm. If you can see a small white ring of coconut oil at the base then you know they are ready!

Melt the chocolate in a bowl placed over some hot water. Do not let the water touch the chocolate as it can seize. I find it best to put the chocolate in the bowl and let it sit over the heat for at least 5 minutes before stirring.

Next is the fun part! You will probably get best results using two forks. Drop the coconut bites into the chocolate and roll them around using forks. Once completely covered in chocolate lift the balls out with the fork allowing excess chocolate to drip off. Place them on the grease paper and allow them to set. If the chocolate cools too quickly just pop it over the steam again.

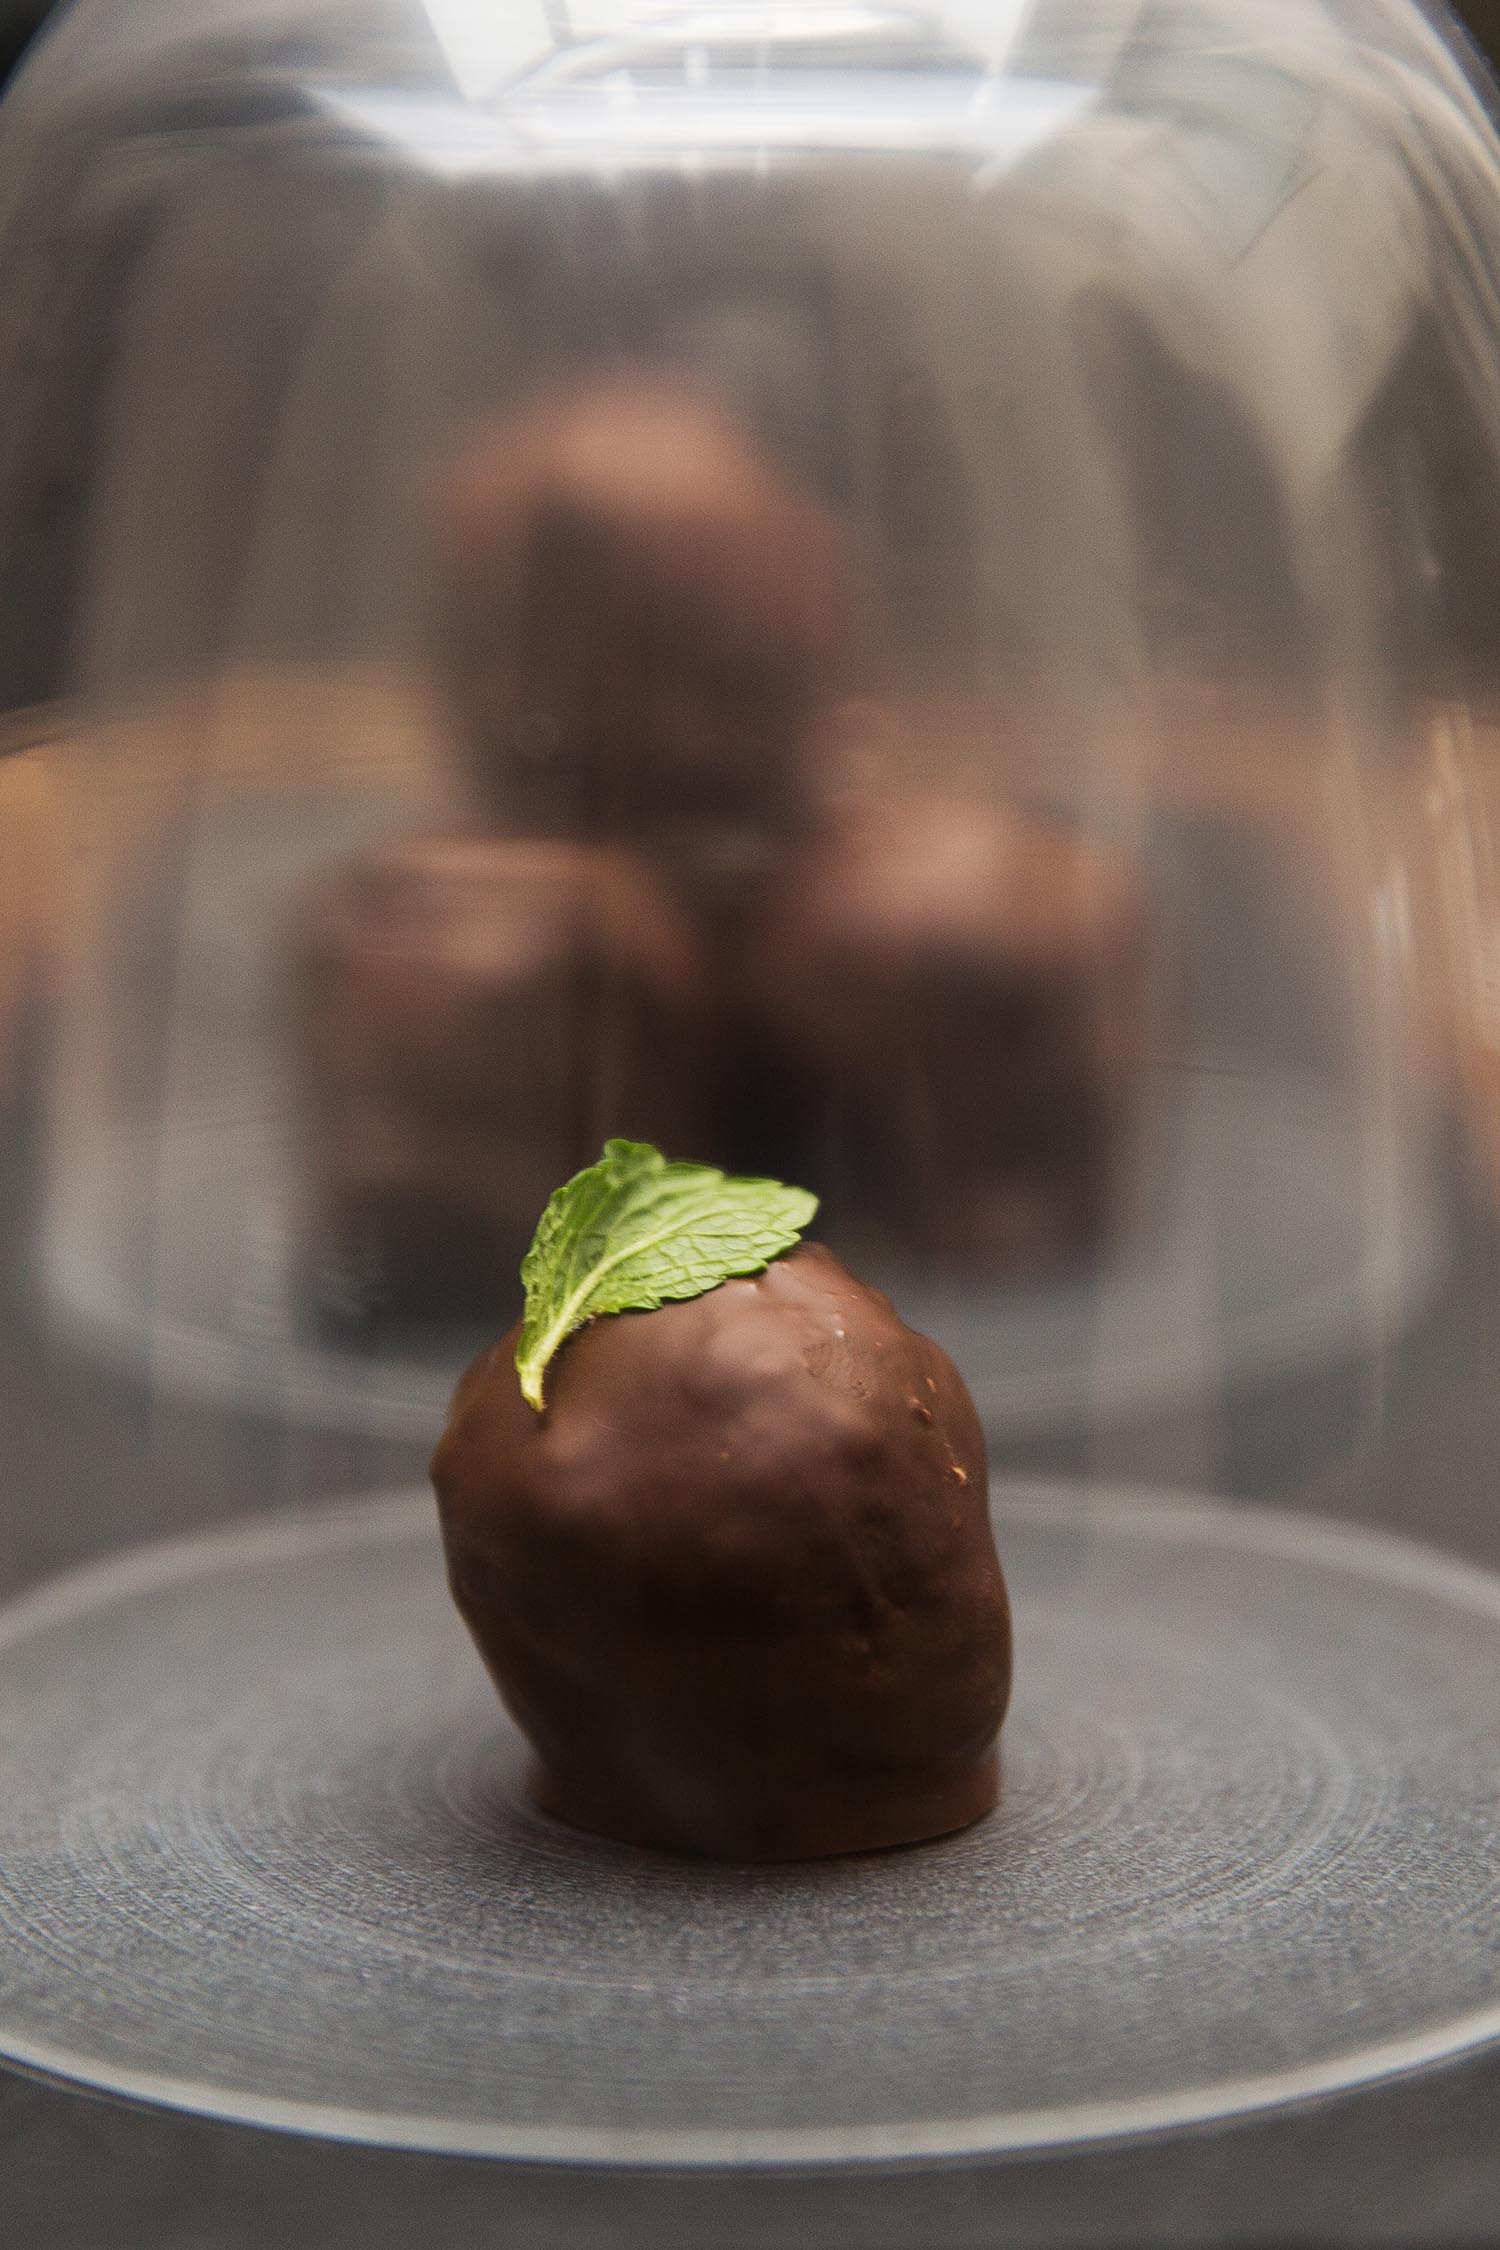
Once all your balls have set they are ready to be enjoyed!

-Melissa


Blood Spatter Cookies

When I was younger we never really celebrated Halloween. I lived on a smallholding outside of town and trick-or-treating was simply not an option.

As I have gotten older however I have embraced the celebration. Why not? After all it involves candy and a lot of it.

My favourite thing about the holiday is imagination. I love how children truly believe they are fully transformed into a character when in costume. The commitment is priceless. You could stick two socks on either hand, draw on some whiskers and tell them they are kittens with mittens and they would whole heartedly sell the story to any passer by. It is something wonderful.

This recipe will use all imagination and when it comes to the children, I know they will be blown away! If you don’t change after baking then you could go as a ghost as this recipe uses a lot of flour and if you are anything like myself, flour gets everywhere when I bake.


serves 8

Ingredients:

  • 375 grams of butter
  • 1 cup of white sugar
  • 1-teaspoon vanilla extract
  • 3 ½ cups of cake flour
  • ¼ teaspoon salt
  • 60 grams of whole raw pecan nuts
  • Three tablespoons of castor sugar
  • 2 egg whites
  • 1 cup of icing sugar divided into two half cups (one for each colour)
  • Red gel food colouring

Instructions:

Preheat the oven to 180 degrees Celsius

Using an electric mixer with the paddle attachment add your butter and sugar and beat until just combined. Add your vanilla and beat again.

In a separate bowl sift your flour and add your salt.

Add your dry ingredients to your butter and mix on a low speed until the dough starts to come together. It should be a pale yellow colour.

Dust a surface with flour and dump the dough onto the flour. Fold into a ball and wrap in cling wrap. Pop the dough into the fridge and let the butter cool for about half an hour before rolling it out.

Once cooled remove the dough and put it onto flour dusted surface. Using a rolling pin roll the dough out into a rectangle. You want the biscuits to be about a 1cm thick. I have cut mine into soldiers but you can use any cookie cutter shape you would like.

Put the cookies on an ungreased baking sheet or tin (the butter in the recipe will make sure they do not stick)

Bake for 20-25 minutes or until the edges start to brown.
Allow them to cool to room temperature.

Mix ½ cup of icing sugar and one egg white. This will be your white royal icing. Using a brush, paint the cookies white. I gave about 20 minutes between white layers and did three coats. I really wanted to white to stand out.

Let the cookies stand and set for about 5 hours or over night.

In a small saucepan add your castor sugar and a drop of red food gel. If you want you can add a teaspoon of water. This will prevent the sugar from burning. Melt the sugar over a low to medium heat. As the water evaporates the sugar will become sticky and coat the pecan nuts. Remove them one by one and place them on some wax paper to set.

Once your cookies have set mix the other half a cup of icing sugar, one egg white and some red colouring. This is going to be your royal icing for the blood spatter.

Using a whisk flick the red icing over the cookies.

Decorate your cookies with your pecan nuts and leave them to set until the icing is hard.

Happy Halloween!

-Melissa 


Glitter mini doughnuts

We made it to FriYAY of the doughnut week! Well done everybody! I am sure it wasn’t too tough! Although mine was busy I loved every second of it (except for the guy who stole my parking today) 

Ending off doughnut week is something simple but elegant. Our dressed to impress Friday night mini doughnut topped in edible glitter! Great for a girls night or just to impress these little guys will make a huge impression! 


Ingredients:

•   150 grams cake flour

•   1teaspoon Baking powder

•   ½ teaspoon Salt

•   110 grams caster sugar

•   120ml buttermilk

•   2 Eggs

•   20 grams Butter (unsalted) melted

•      1 ½ teaspoon vanilla paste

•      ½ teaspoon almond essence

•      500 grams icing sugar

•      1 egg white

•      1 tub edible glitter


Instructions:

Preheat your oven to 160 degrees Celsius.

Spray your mini doughnut tin lightly and set aside.

In a large mixing bowl whisk together flour, baking powder salt and castor sugar. Whisking creates air and removes lumps.

In a separate bowl whisk together the milk, melted butter, egg, vanilla and almond essence.

Make a well in the flour bowl and in third stages mix in the wet ingredients. Whisking after each addition until fully combined in a batter.

Using a spoon fill the doughnut tin. Don’t fill more than ¾ full, as they will rise when they are baked. Bake in the oven for 8 minutes or until a toothpick comes out clean when inserted.

Set aside on a cooling rack once baked.

In a separate bowl mix together the icing sugar and egg white. You are making royal icing which sets quickly and dries hard, so work fast. Once your icing sugar is mixed use a butter knife to ice the top of your doughnuts. Sprinkle edible glitter on them before the icing dries. Leave them to fully set on the cooling rack. 

Serve with cocktails and have an amazing weekend!

-Melissa  


Baked apple doughnut balls

I simply love how versatile doughnuts actual are. Through this week of doughnut madness I have learnt that they can be transformed, decorated and baked any which way you like. They are the chameleons of the baked goods world and simply a lot of fun.

This recipe is day four and worth the wait. It’s a great recipe to make for a party as it has different dippers and you can play around with the sauces you choose. Your guest can mix flavours or pick a flavour and dip and dunk away. I must admit I have always been a bit of a dunker myself but there is no judgment here!

They are interactive which I think can really elevate a dinner party and makes them a social affair. They are also great for children’s parties and you could mix things up with different frosting colours and sprinkles!


Ingredients:

·      2 cups apple cider

·      2 whole cloves

·      2 cups all-purpose flour

·      1 ½ teaspoon baking powder

·      1 ½ teaspoon baking soda

·      1 teaspoon cinnamon

·      ¼ teaspoon salt

·      1 large egg

·      2 tablespoons salted butter, melted

·      â…” cup light brown sugar

·      ½ cup buttermilk

·      2 tablespoons apple sauce, naturally sweetened - no sugar

·      1 apple pealed and finely chopped into little cubes

·      250ml cream

·      1 teaspoon vanilla extract 


Instructions:

For the baked apple cider doughnuts:

Start by simmering the apple cider with the 2 cloves in a small saucepan over medium heat for 15-20 minutes until the apple cider reduces down to ½ cup. Remove the cloves from the concentrate and pour the apple cider into a container and refrigerate while you prepare the doughnut batter.

Position a rack in the centre of the oven and preheat the oven to 180 degrees Celsius. Spray your doughnut pan or your mini cupcake pan with non stick spray and set aside.

In a large bowl, sift together the flour, baking powder, baking soda, cinnamon and salt, set aside.

In a medium bowl, combine the egg, melted butter, and brown sugar, whisk until smooth. Then, add in the apple sauce, vanilla, buttermilk, and the apple cider concentrate.

Add the wet ingredients to the dry ingredients and whisk until just combined. Its okay if a few small lumps remain. They will bake out.

Pour the batter by the teaspoon into the prepared mini cupcake pan about three quarter of the way full. Make sure to not overfill, as they will rise when baking. Drop a small piece of apple into each doughnut ball. Mini doughnut balls take between 8-11 minutes. If you are making doughnuts, they will take about 9-12 minutes. Check them by inserting a toothpick and if it comes out clean they are ready!

For the cinnamon sugar coating:

Combine the sugar and cinnamon together. Dip the tops of each doughnut ball into the melted butter then coat with the cinnamon sugar mixture. Repeat with all the doughnuts. Depending on how long you dip the doughnuts into the butter, you may need more butter and/or more cinnamon sugar.

For the whipped cream:

Whip the cream and add the vanilla. Serve in a small bowl as a dipper to break the sweetness of the caramel.

If you want the caramel sauce from yesterday post it's a great dipper for this recipe

-Melissa

Warm doughnuts with caramel and plum sauce

So day three of my doughnut week brings you to another cheat recipe and I thought it would be perfect for a humpday cheat! We are over the worst of the week and that is worth celebrating! I suppose I am the type of girl that will find any reason for a party, especially one that involves food!

This recipe is really only going to teach you something new with the sauces but they are great to have in your arsenal as they can be used over and over again! The plum sauce is great to serve with a crumble and the caramel is a great dipper for baked apples! 


Ingredients:

6 large cinnamon and sugar doughnuts

Vanilla ice cream

6 large pitted and sliced plums

5 tablespoons sugar

1 tablespoon butter

1 tablespoon water

1 cup sugar

1/4 cup water

3/4 cup heavy cream

3 1/2 tablespoons unsalted butter

1 teaspoon sea salt, crushed or kosher salt


Instructions:

Plum sauce:

Pit and slice all your plums. Place them in a medium saucepan over a medium heat. Add your sugar and water and allow to soften and become slightly gooey. Add butter and whisk until all butter and sugar is dissolved. Set aside.

Caramel sauce:

In a heavy-bottomed saucepan, combine the sugar and water over medium-low heat until the sugar dissolves. Increase the heat and bring to a boil, without stirring. If necessary, use a wet pastry brush to wash down any crystals on the side of the pan. Boil until the syrup is a deep amber color, about 5 to 6 minutes. Keep an eye on it as caramel can burn very quickly!

Remove the sugar from the heat and carefully whisk in the heavy cream. The mixture will bubble. Stir in the unsalted butter, and salt. Transfer the caramel to a dish and cool.

Warm your doughnuts in the oven until they are hot. Serve them with a dollop of vanilla ice cream and top with plum and caramel sauce. 

-Melissa