dinner

Balinese Gado Gado

Balinese Gado Gado

This dish was inspired by my love of and travels to Bali. This is my take on a very traditional dish and the fun part is that you can change things up when it comes to the vegetables. There is so much wisdom in traditional culture and I hope to honour tradition in some small way through recipes like this. Western culture often considers Eastern medicine and culture as ‘woo woo’ medicine. The truth is wisdom that has been passed down is centuries older than Western medicine and if we just take the time to learn, we can heal. 

Stuffed peppers with mint yoghurt dressing

spelt stuffed peppers with herby yoghurt dressing

This is a fun and healthy take on an old classic. It is such a hearty dish that always offers a beautiful pop of colour when you add it to your plate. Eating colourful food means more nutrients and health. You can get creative and try it with different spices and serve them as the main affair or as a side. It’s also a great do-ahead dish so you can grab a stuffed pepper when on the run.

Serves 2 as a main dish, 4 as a side

Prep time: 15 minutes

Cooking time: 45 minutes


Ingredients:

4 medium red or yellow peppers, tops cut off and saved for later, and seeds removed

Dressing

1 cup plain Greek yoghurt or coconut yoghurt

juice of 1 lemon

12 fresh mint leaves, finely chopped

2 tablespoons maple syrup or 2 teaspoons unrefined brown sugar

80 g goats milk cheese

salt and pepper

Filling

1½ cups spelt, cooked

1 cup vegetable stock

2 teaspoons coconut oil

2 shallots, finely diced

2 cloves garlic, finely sliced

1 teaspoon ground turmeric

½ teaspoon cayenne pepper

4 plum tomatoes, chopped

4 medium-sized courgettes, grated

2 teaspoons caper berries

1 tablespoon nutritional yeast

olive oil

1 handful fresh coriander or parsley leaves, chopped

Instructions:

Prepare the peppers and set aside. You want to keep them intact as you will be filling them later.

For the dressing, mix together all the ingredients in a small bowl until combined. Season to taste and set aside.

For the filling, cook the spelt as per the packet instructions, adding the vegetable stock to the water that you use to do so. Once ready, set aside.

Heat the coconut oil in a medium frying pan over medium heat. Add the shallots and sauté for 5 minutes until translucent. Add the garlic, turmeric and cayenne pepper and sauté for a further 5 minutes, stirring often. If it dries out, add a splash of water to help it along. Add the tomatoes and cook for a further 15 minutes, stirring every 5 minutes. Once the tomatoes have cooked down, remove the pan from the heat and add the courgettes, caper berries, nutritional yeast and spelt and fold through.

Preheat the oven to 180 °C.

Using a spoon, fill the peppers to the top with the tomato and spelt mixture. Drizzle with a little olive oil, making sure the sides get some oil too. Use your hands if need be. Pop the peppers onto a roasting tray and roast them in the oven for 10 minutes. Change the setting to grill and grill them for an additional 10 minutes, keeping an eye on them so that they don’t burn.

Serve with a big dollop of dressing, and a drizzle of olive oil, and top with the coriander or parsley

-Melissa


Ultimate veggie burger & fries

Ultimate veggie burger & fries

This recipe is a longer cook but oh so fun for getting the children involved. Teaching your children to be kind to animals is our responsibility. They don’t need to be vegan, but growing up with a disconnect to where their food comes from raises adults who are disconnected from the farm-to-table process and who end up buying meat unconsciously. Meat is a privilege and the animal has given its life for it. Teaching your children that these are kind patties that haven’t harmed another being might encourage them to not only learn something new, but to try something new. It may even do the same for you.

Serves: 4

Preparation time: 20 minutes

Cooking time: 45 minutes

Fries

5 unpeeled potatoes, sliced into wedges

3 tablespoons olive oil

1 teaspoon paprika

salt and pepper

Patties

½ cup uncooked brown lentils

2 cups vegetable stock

200 g fresh or frozen sweetcorn kernals

200 g fresh or frozen peas

1 bunch fresh coriander leaves

½ teaspoon ground cumin

¼ teaspoon cayenne pepper (optional)

75 g spelt flour

1 tablespoon sesame seeds

1 tablespoon sunflower seeds

salt and pepper

1 tablespoon coconut oil

Vegan mayo

2 spring onions

½ fresh red chilli (optional)

1 clove garlic

2 heaped tablespoons cooked chickpeas

1 teaspoon English mustard

1½ tablespoons sun-dried tomato paste

juice of 1 lemon

5 tablespoons olive oil

To serve

4 quality burger buns (gluten-free if you wish)

½ head iceberg lettuce

2 plum tomatoes, sliced

2 gherkins, sliced

2 sprigs fresh basil leaves

1 lime

1 avocado, peeled, pip removed, sliced

Preheat the oven to 180 °C.

For the fries, toss the potato wedges with the oil, paprika, salt and pepper in a large bowl until the wedges are evenly coated. Pop them onto a roasting tray and into the oven for 35–40 minutes or until they are golden brown, tossing them at the halfway mark. I drizzle them with a little extra olive oil as they come out of the oven and season with salt.

For the patties, place the lentils and vegetable stock into a medium saucepan over medium heat. Cook for 30 minutes until al dente.

Meanwhile, add the sweetcorn, peas, coriander, cumin, cayenne pepper, flour and seeds to a food processor. Once the lentils are ready, remove them from the heat, drain them and allow to cool for 10 minutes and then tip them into the food processor and season with salt and pepper. Pulse until a rough paste starts to form. You don’t want to make it too smooth. Once ready, divide the mixture into four even patties about 2 cm thick. Place the patties on a lightly floured tray and pop them into the freezer to set for 10 minutes or save them in the fridge for later.

While the patties are setting, get started on the mayo. Place all the mayo ingredients, except the olive oil, into a blender and blend until smooth. While the blender is running, add the olive oil very slowly and keep blending until a mayo-like consistency forms. Once ready, set aside.

Heat the oven again to 180 °C.

Heat the coconut oil in a medium frying pan over medium heat. Cook each patty for 2 minutes on each side. Once ready, transfer to a roasting tray and pop them into the oven. Turn the oven down to 150 °C and bake a bit longer while you assemble the burgers.

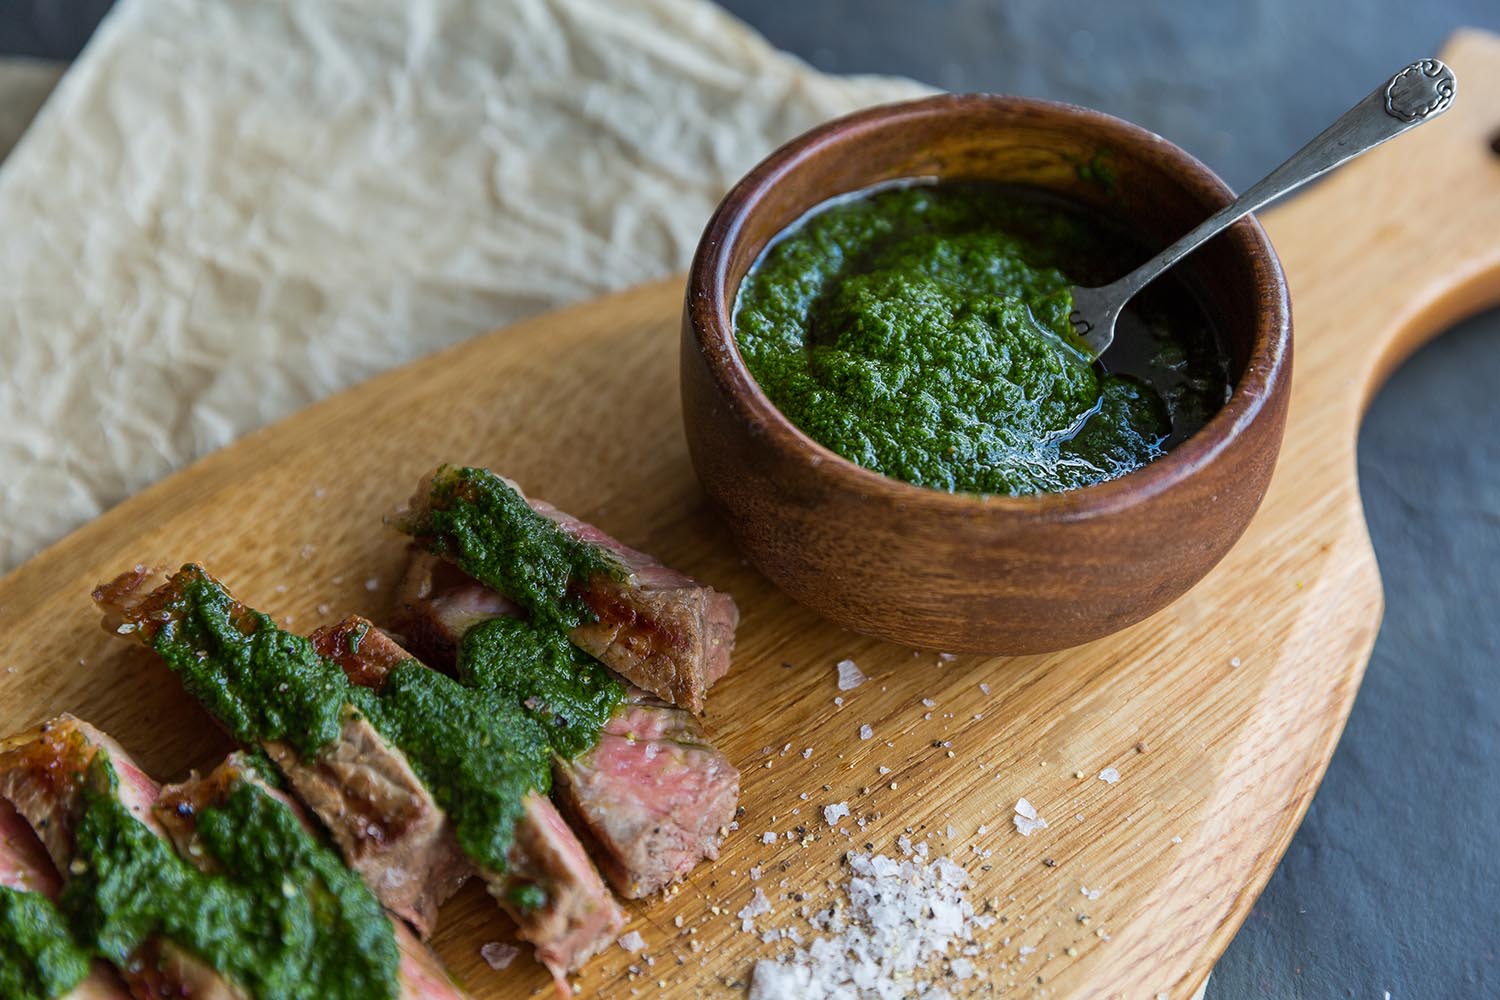
Cut the buns in half and add a dollop of mayo. Top with lettuce, sliced tomato, gherkins and basil. Add a squeeze of lime. Place a hot patty on top and close the bun.

Serve with the fries and an extra dollop of mayo for dipping!

-Melissa


Seared Ostrich Fillet with Citrus

Seared Ostrich Fillet with Citrus

*Serves 2

Ostrich is a meat that can be commonly found in most South African supermarkets. It has a rich, gamey taste to it and you can pair it with sweeter accents such as fresh fruits or a berry sauce for some great combinations.


Ingredients:

  • 230g ostrich fillet
  • 1 orange, zested and juiced
  • 1 garlic clove, minced
  • 1 tablespoon tamari
  • salt and pepper 
  • coconut oil
  • 2 oranges, segmented
  • 1 generous handful rocket
  • 80g raw almonds, toasted
  • olive oil

Instructions:

Add the ostrich, along with the orange zest, juice, garlic, and tamari, to a bowl. Toss together and cover the bowl. Pop it into the fridge for an hour or overnight if you have time.

Remove the marinated ostrich from the fridge. Add a tablespoon of coconut oil to a medium pan over a high heat. Add the ostrich fillet and sear on each side for two minutes. Once ready, remove from the heat and let rest for a further five minutes. You can cover it with a piece of foil so it doesn’t get too cold. Once rested, slice the ostrich and season to taste.

Meanwhile, using a sharp knife, remove the membranes of the orange segments.  In a medium bowl, layer the rocket and fresh oranges along with the sliced ostrich fillet. Top with the toasted almonds and drizzle with olive oil to serve.


Health Fact:

Ostrich is a lean meat and a great alternative to beef. It is also readily available in South African supermarkets.

How to grill the perfect steak and a giveaway with Risoli!

How to grill the perfect steak and a giveaway!

I often get asked, “how do you make the perfect steak?” 

As a proudly South African girl, my first answer is on the grill with an open flame. There is something primal about it that ignites my inner pyromaniac, plus it’s really wonderful cooking on an open flame out in the elements. However, this isn’t always achievable. Add in a howling south easter and that little open flame meant to char a chop can turn into a roaring mountain blaze faster than you can put down the braai tongs. In fact more often than not, in simpler terms, it’s just too much hassle to set up a fire and wait for it to be the correct temperature to grill a single steak. So then what?

Enter Risoli and their marvelous grill pan! Imported from Italy and an absolute essential in the kitchen.  
The best part of the design is that it is non-stick. I love this because a cast iron grill can be such a pain to clean and with the Risoli it is quick and easy! You can focus your energy on cooking rather than cleaning which is right up my alley. 
Nobody likes to wash dishes.  

A grill pan is an essential in the kitchen because it actually goes so much further than just grilling a steak. Essentially you are cooking without added fat making it a healthier cooking method. 
You can grill vegetables as well as meat and my personal favorite, corn. 
I have a habit of trying to incorporate that little yellow ‘mielie’ into as many dishes as I can.
The possibilities are endless, think grilled corn salsa, marinated grilled vegetable salads and of course, chorizo tapas and perfect meat options!  

So, without further adieu - let’s get down to basics. Here are a few tips that I believe will make your life easier in the kitchen: 

Lesson Number 1.
The biggest mistake people make is to put oil into a grill pan. 
This is a big no-no because all you are going to do is smoke out your house. Unless your house is already on fire from that earlier braai attempt in the South Easter – nobody enjoys choking on the thick smoke billowing from an oiled grill pan.
The pan is designed to work with little to no oil. When grilling your steak all you need to do is lightly brush the meat. Lightly. That’s it. If you add more oil it will just cause a mess. 
So lesson no 1, oil the meat - not the pan.

Lesson Number 2.
The second biggest tip is to cook one side and then another. Don’t toss and turn your piece of meat. What I mean is; lightly oil your meat, bring your pan to a high heat and then lay your meat down. The main thing you are looking for is a sizzle! It is all about the sizzle. Once the meat is in the pan, leave it face down for 3 minutes. After 3 minutes turn your meat over and grill for another 3 minutes. You will see the grill marks showing up nicely. Cooking time can vary based on the thickness of your steak as well as how you would like your steak done. I personally only like medium rare to medium. So my cook time on a based on a 2cm thick steak, 3 minutes a side.
Aside from the taste benefit of minimizing the manhandling of your meat – it leaves your steak with a perfect aesthetic; marks on meat that looks more like a grill pan and less like you prepared your meat on chicken coop wire.
I’m a stickler for the details.

Season your meat after grilling with a basic salt and pepper herb mix. 
If your meat is marinated then you won’t need to oil your meat. Just let excess marinade drip off before grilling the meat. 

Lesson Number 3.
Let sleeping meat lie…
Allow for rest time on your meat. You want to be able to rest your meat for 5-10 minutes. 
Remove it from the pan (heat) and put it on a chopping board. 
Cover it with foil to allow the steak to keep warm. 
Resting the meat means it won’t end up in a bloody pool on the plate! (Unless you like that sort of thing...no judgment…okay, maybe a little Hannibal) 

Once rested, slice and serve with a simple chimichurri sauce or cracked salt. See recipe below ... 


Ingredients: 

  • 2 Rump steaks approx 200 grams, cooked according to above method. 
  • A bunch of fresh flat leaf parsley 
  • 1 teaspoon coriander 
  • 1 - 2 garlic cloves 
  • 1/4 red onion
  • 1/2 teaspoon dried oregano 
  • 1/2 red chilli (depending on how hot you like it)
  • 5-6 tablespoons olive oil
  • salt and pepper to taste
  • 1 teaspoon balsamic vinegar 

Instructions: 

Grill the steak and set aside to rest. 

Blend all chimichurri ingredients together and serve on top of sliced steak. 


GIVEAWAY TIME! 

Now for the exciting giveaway! Comment below on what your favourite grilled dish is and you can stand a chance to win this amazing pan! Competition for South Africa only, entries close on the 17th of November. If you share the post on social media from The Truffle Journals facebook page and follow the page, then you score some extra points! Good Luck! 

*This blog post was sponsored by Risoli, all opinions are my own.