beer

Beer steamed mussel pot

Beer steamed mussels pot

Living in a world of social media really has its ups and downs. It is so hard to not compare myself to others (a huge mistake) and it is all too easy to fall into a space of dissatisfaction with my own life after viewing someone else's best day on Instagram. However, I constantly remind myself it is just that. Someone's best day. They are working hard to create top class content (as do I) that although beautiful, is not a true reflection of the reality we live in.

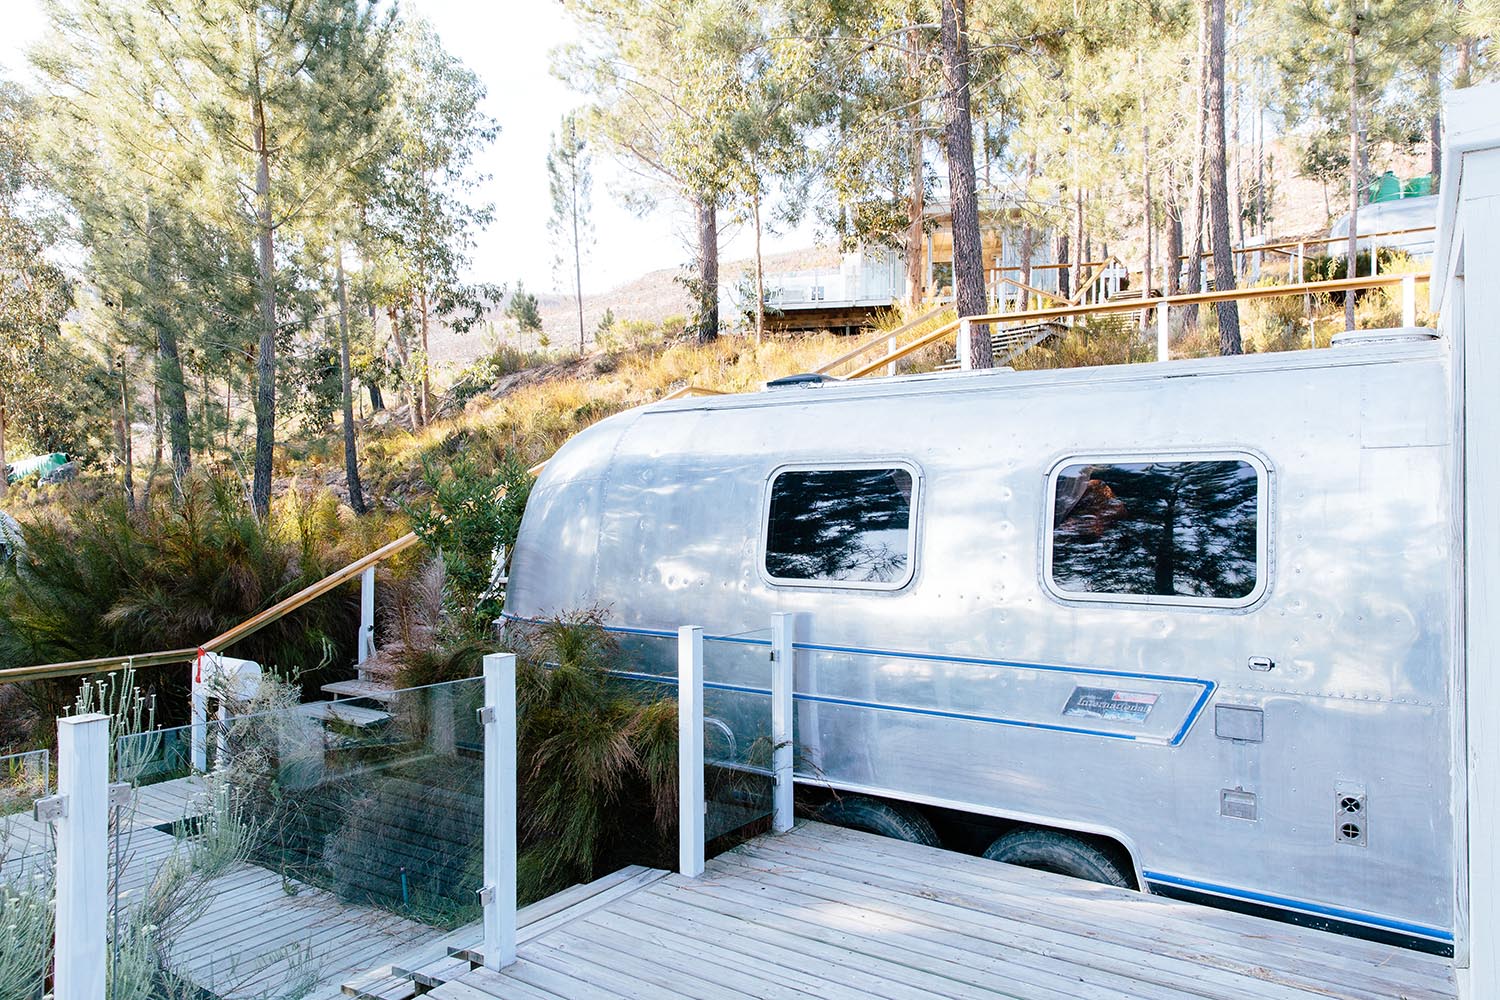
I find it inspiring to see people travelling the world in a (seemingly) real life re-enactment of Gulliver’s travels filled with adventure and wanderlust. 
I find myself going down these rabbit holes and ending up pouring over these beautiful locations for hours on my phone. 

Possibly not an ideal habit for a busy woman. Or her partner.

Recently, my obsession has been centred over island vacations. I mean, who’s imagination isn’t captivated by the thought of unspoiled paradise? 
Picture it; Soft beach sand between your toes, a warm sun kissing your shoulders with a fabulous cocktail in hand.

Sigh. 

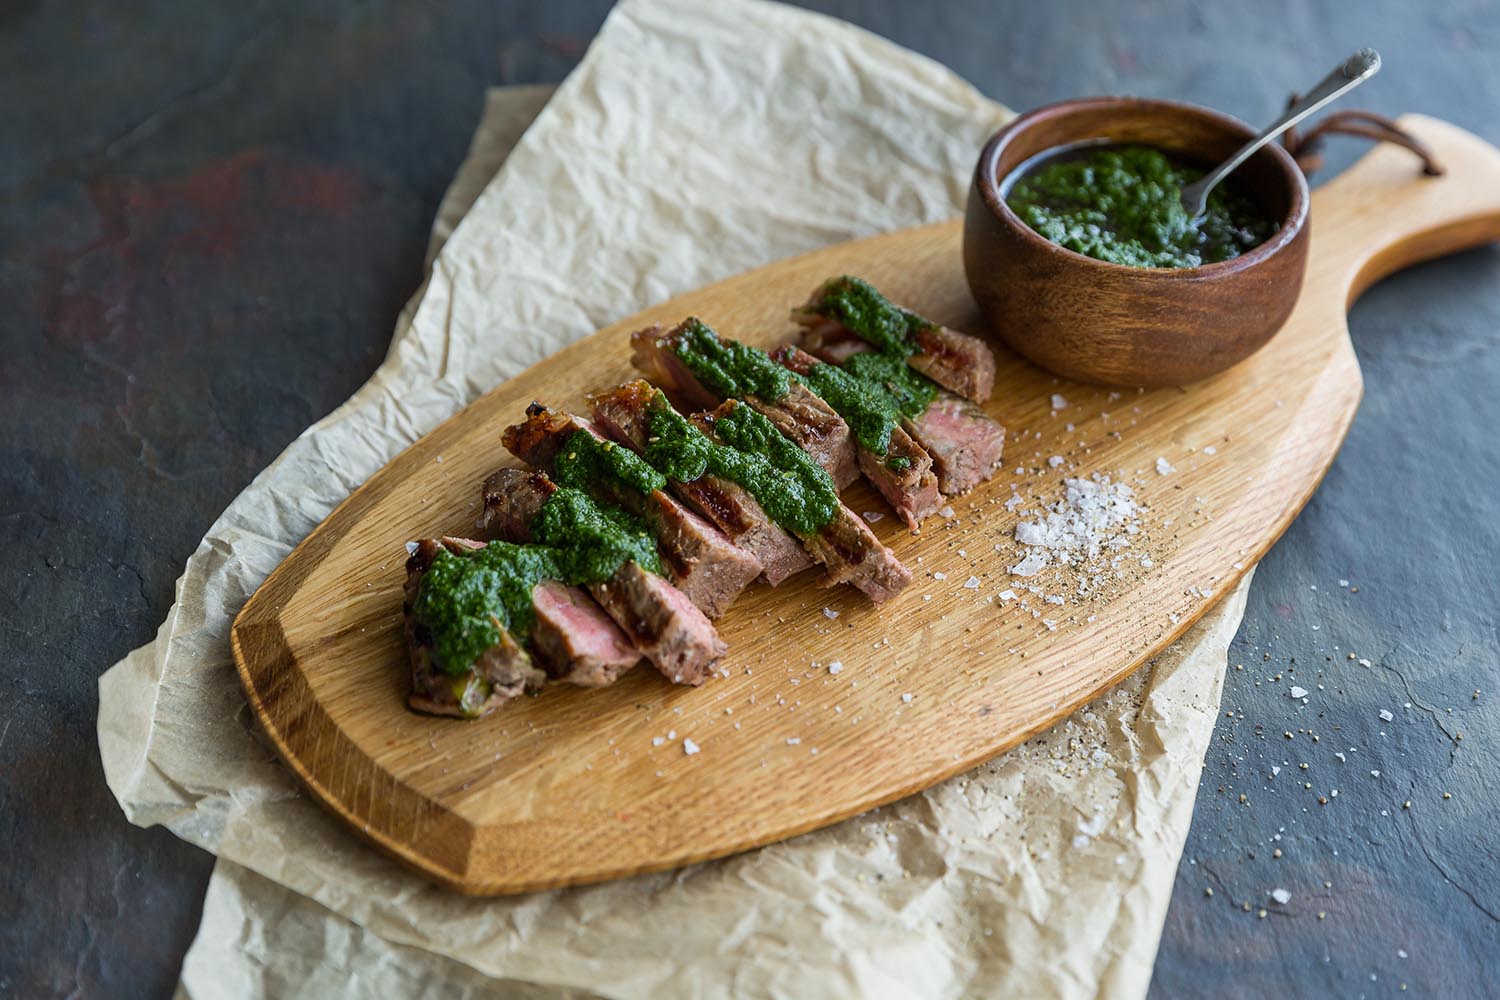
In an effort to cure my island blues, I decided to come up with an easy-to-make, simply delicious seafood recipe. 
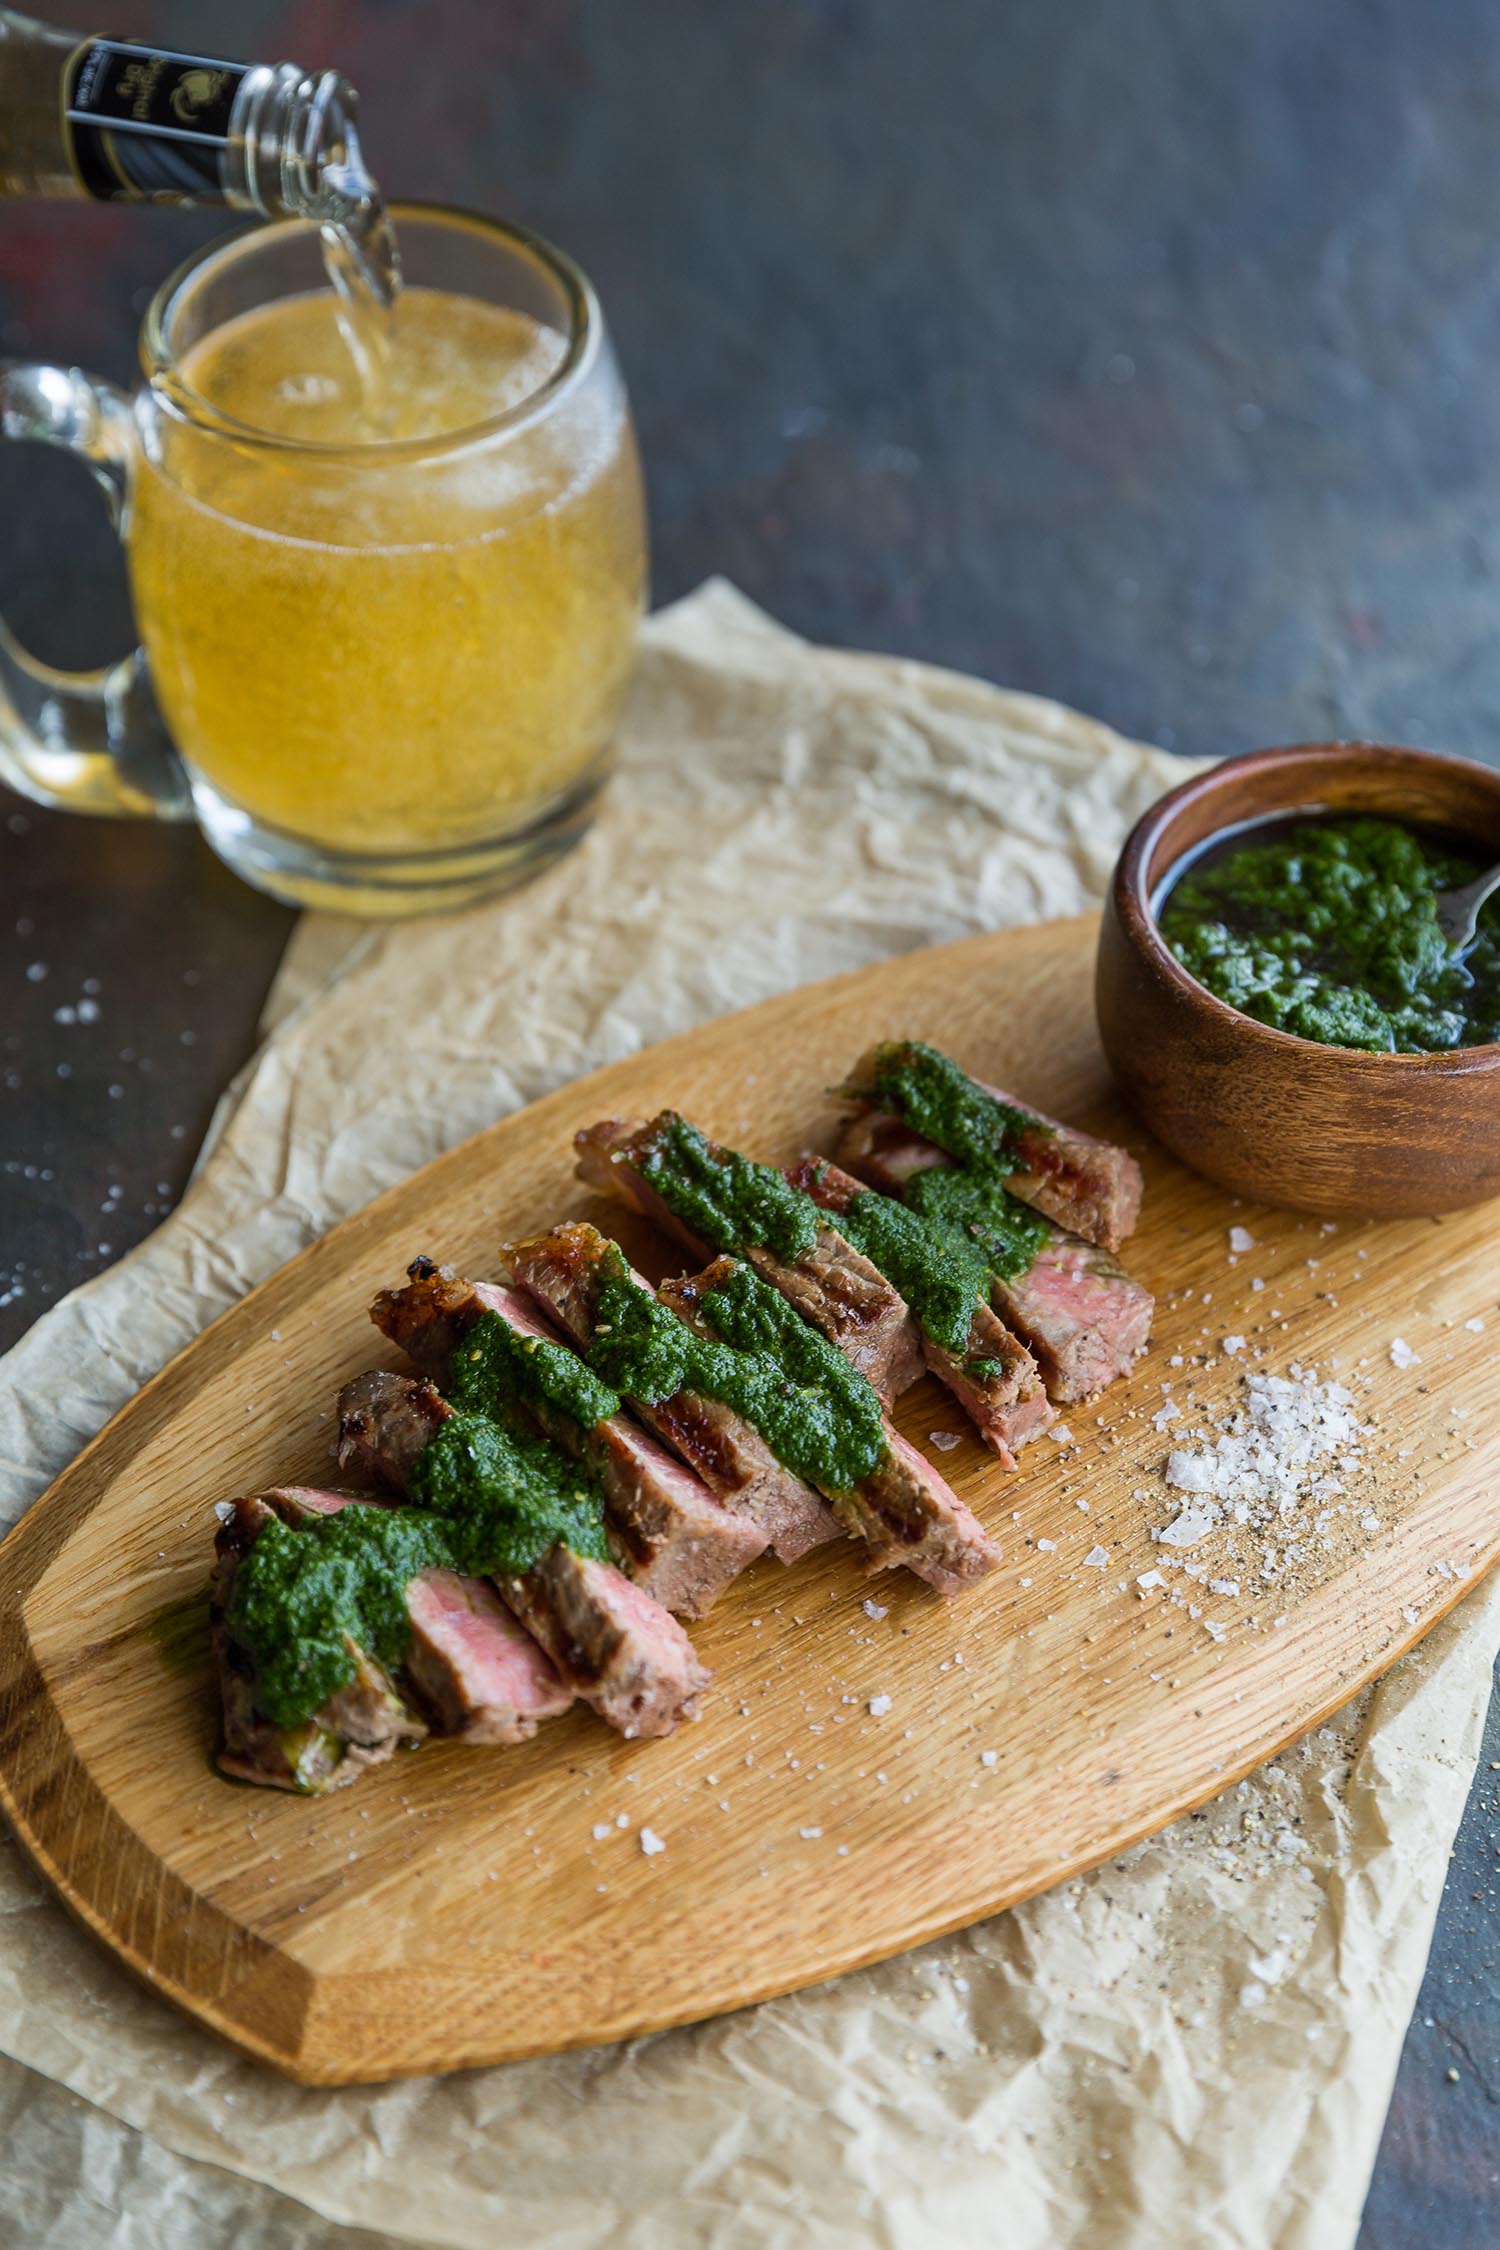
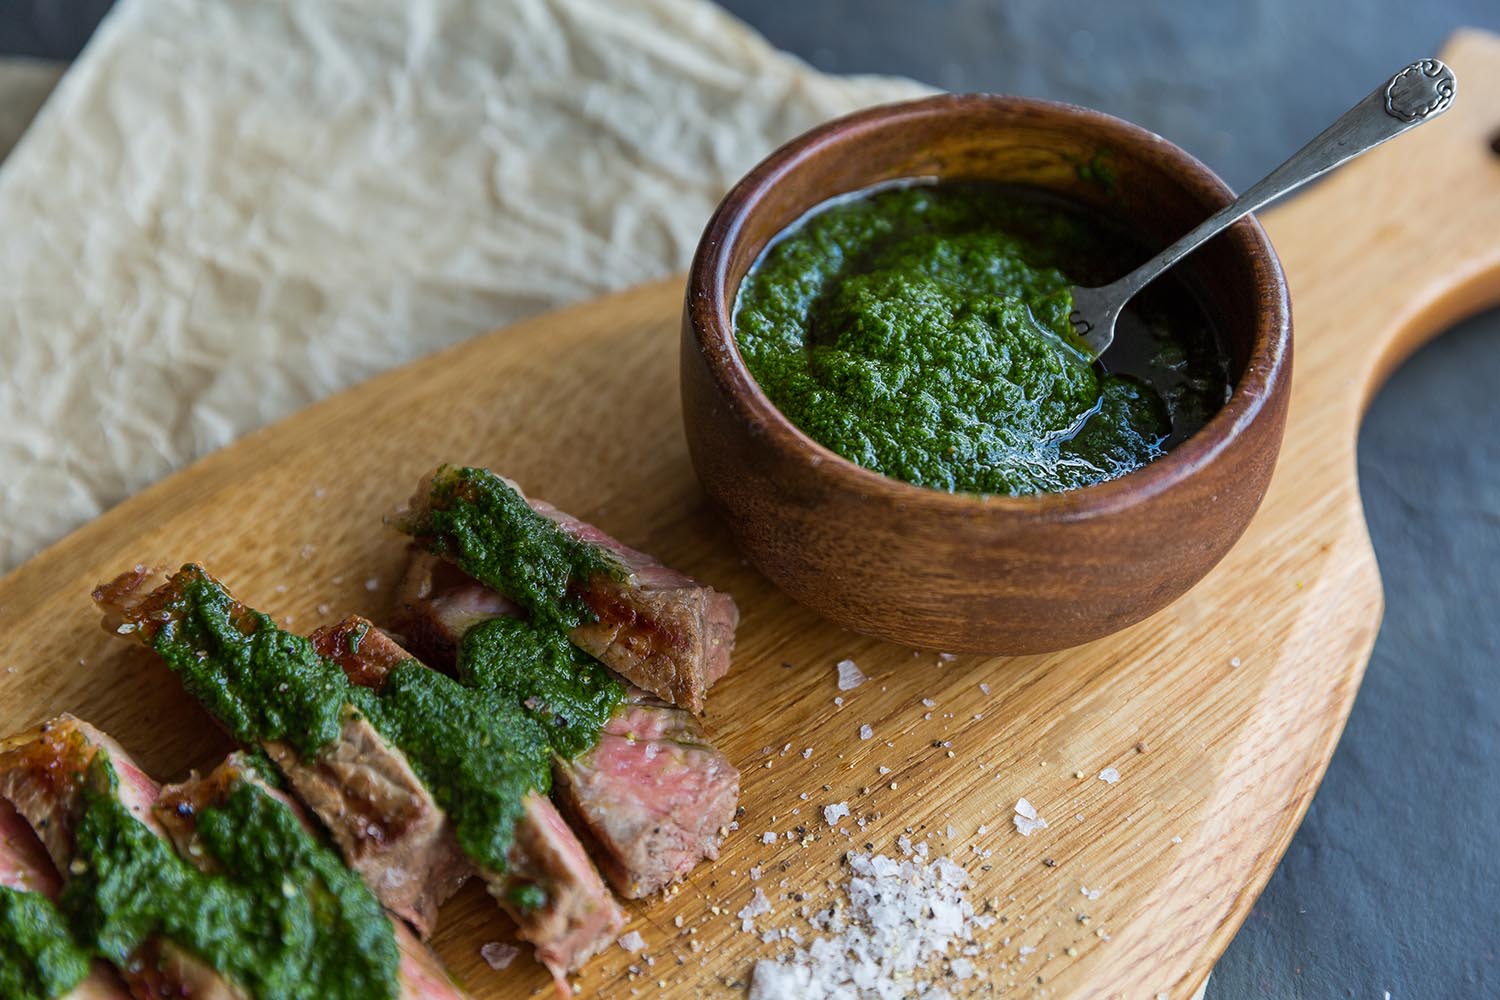
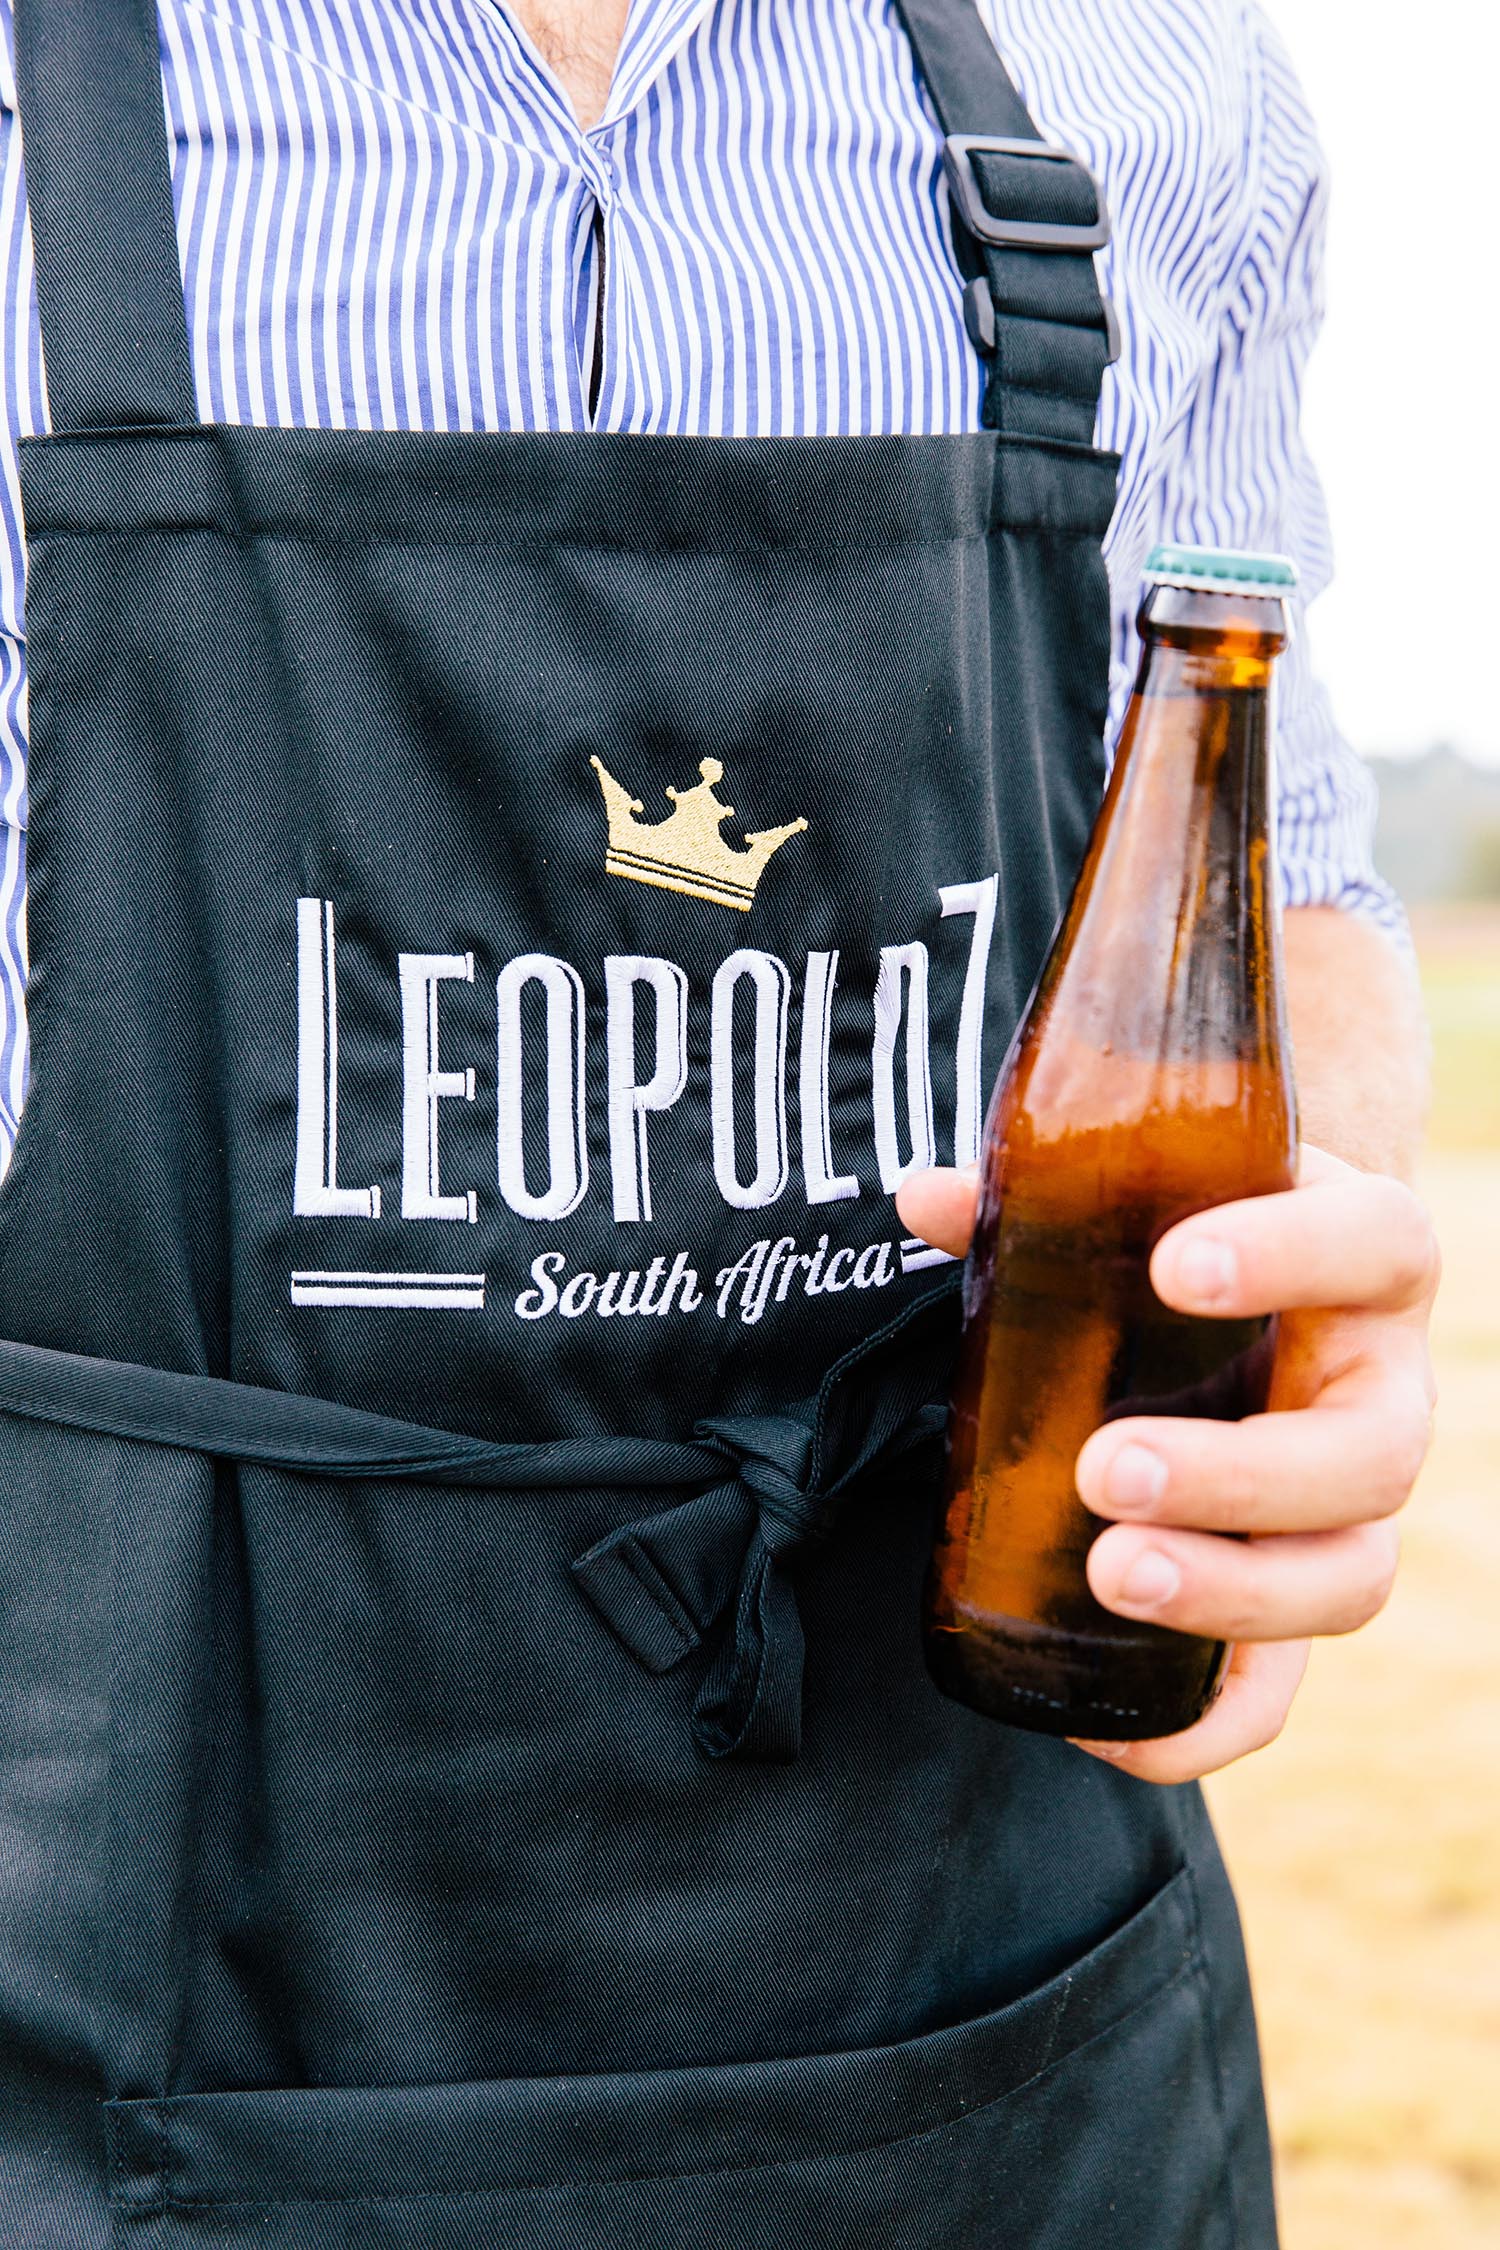
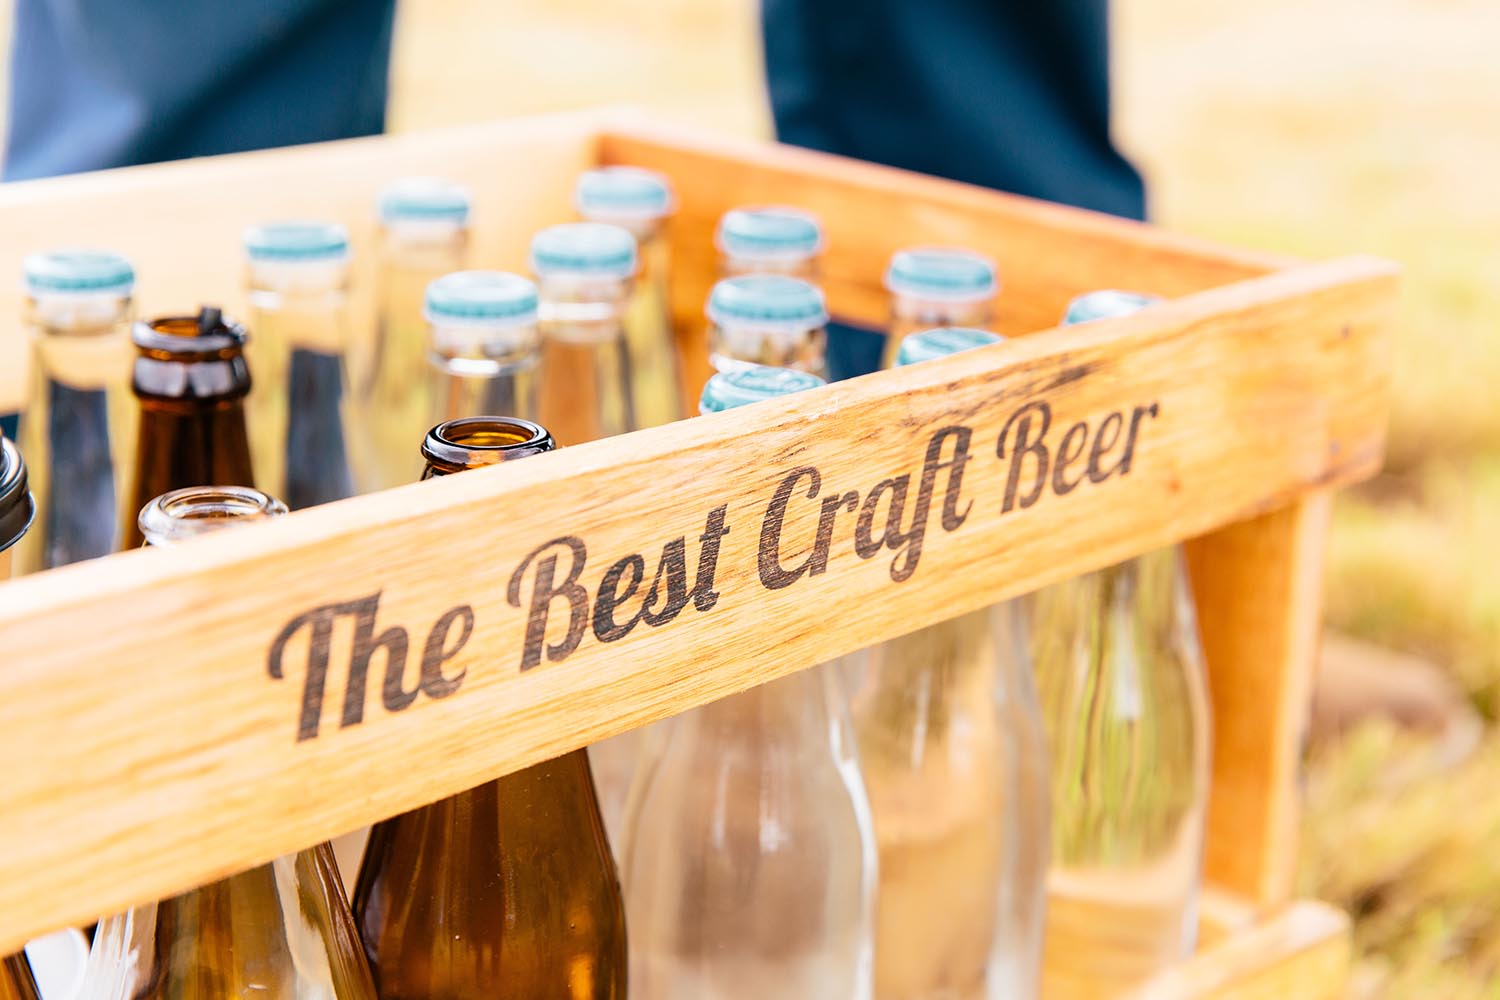
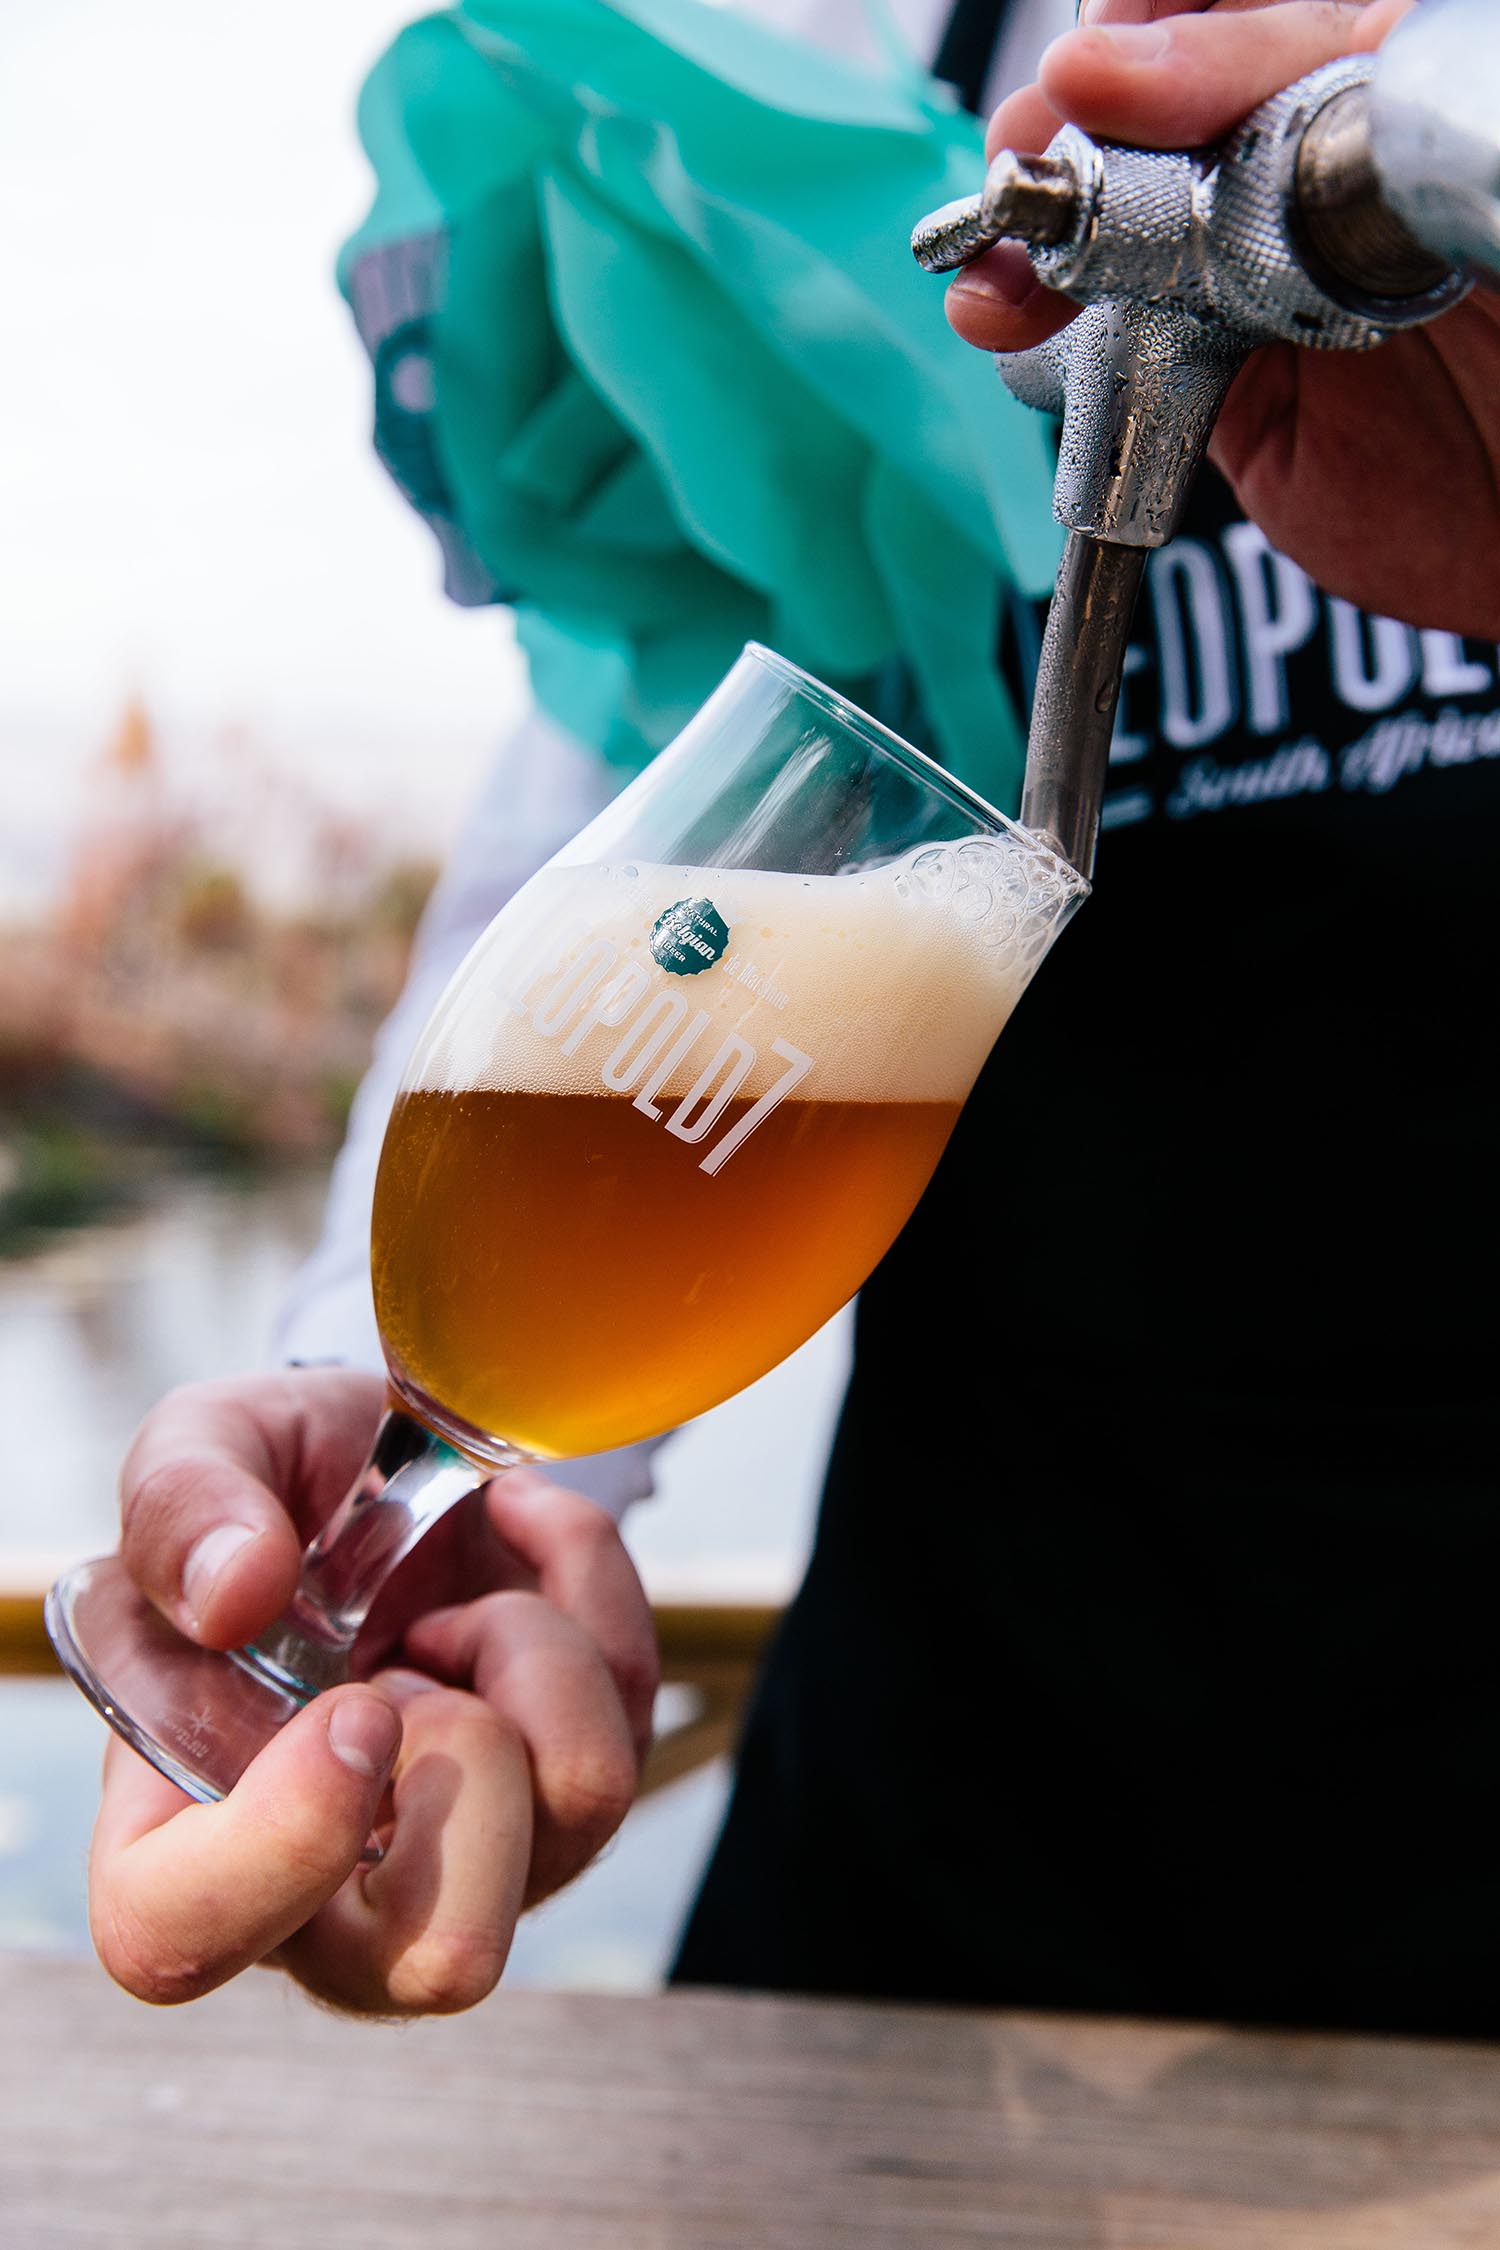
The mussels are a taste of the ocean and the beer offers a signature hop bitterness to contrast the honey in the recipe. The chilli adds a well placed kick and voila - you have yourself a mini vacation in your mouth! 

So if you find yourself dreaming of a magnificent blue ocean somewhere, sitting on a beach sipping on a coconut - I hope this will help you in adding some texture to those imaginings.


Serves: 4

Ingredients: 

  • ½ brown onion, chopped
  • 1 tablespoon coconut oil
  • 1 garlic clove, minced
  • ½ red pepper sliced
  • 2 red chilies, finely chopped (optional)
  • 1 teaspoon honey
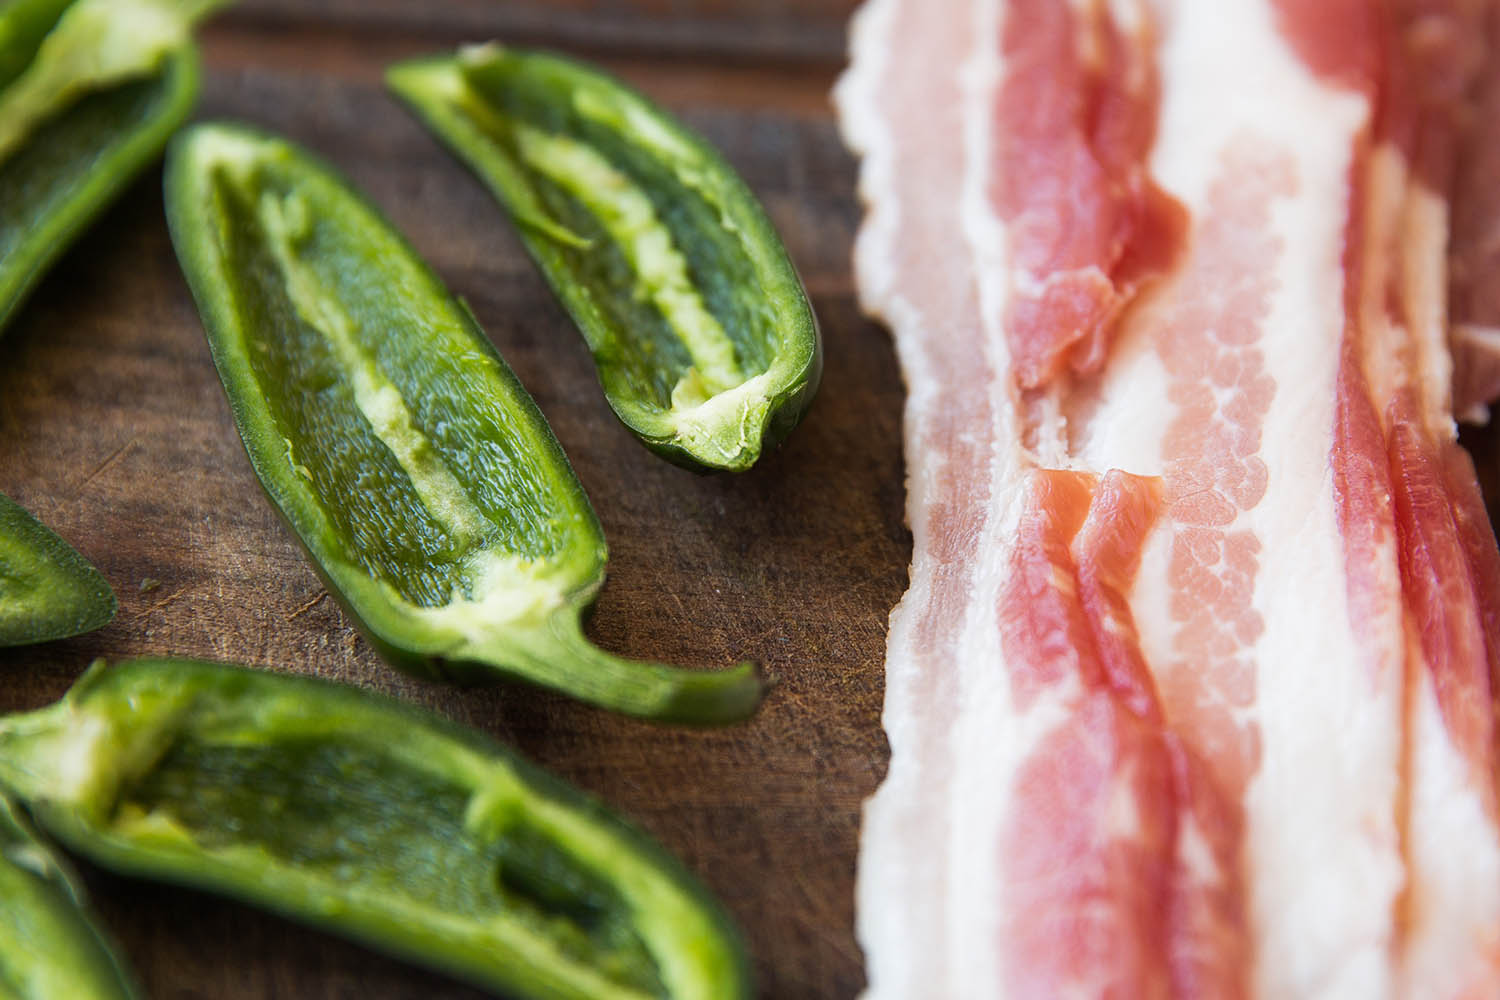
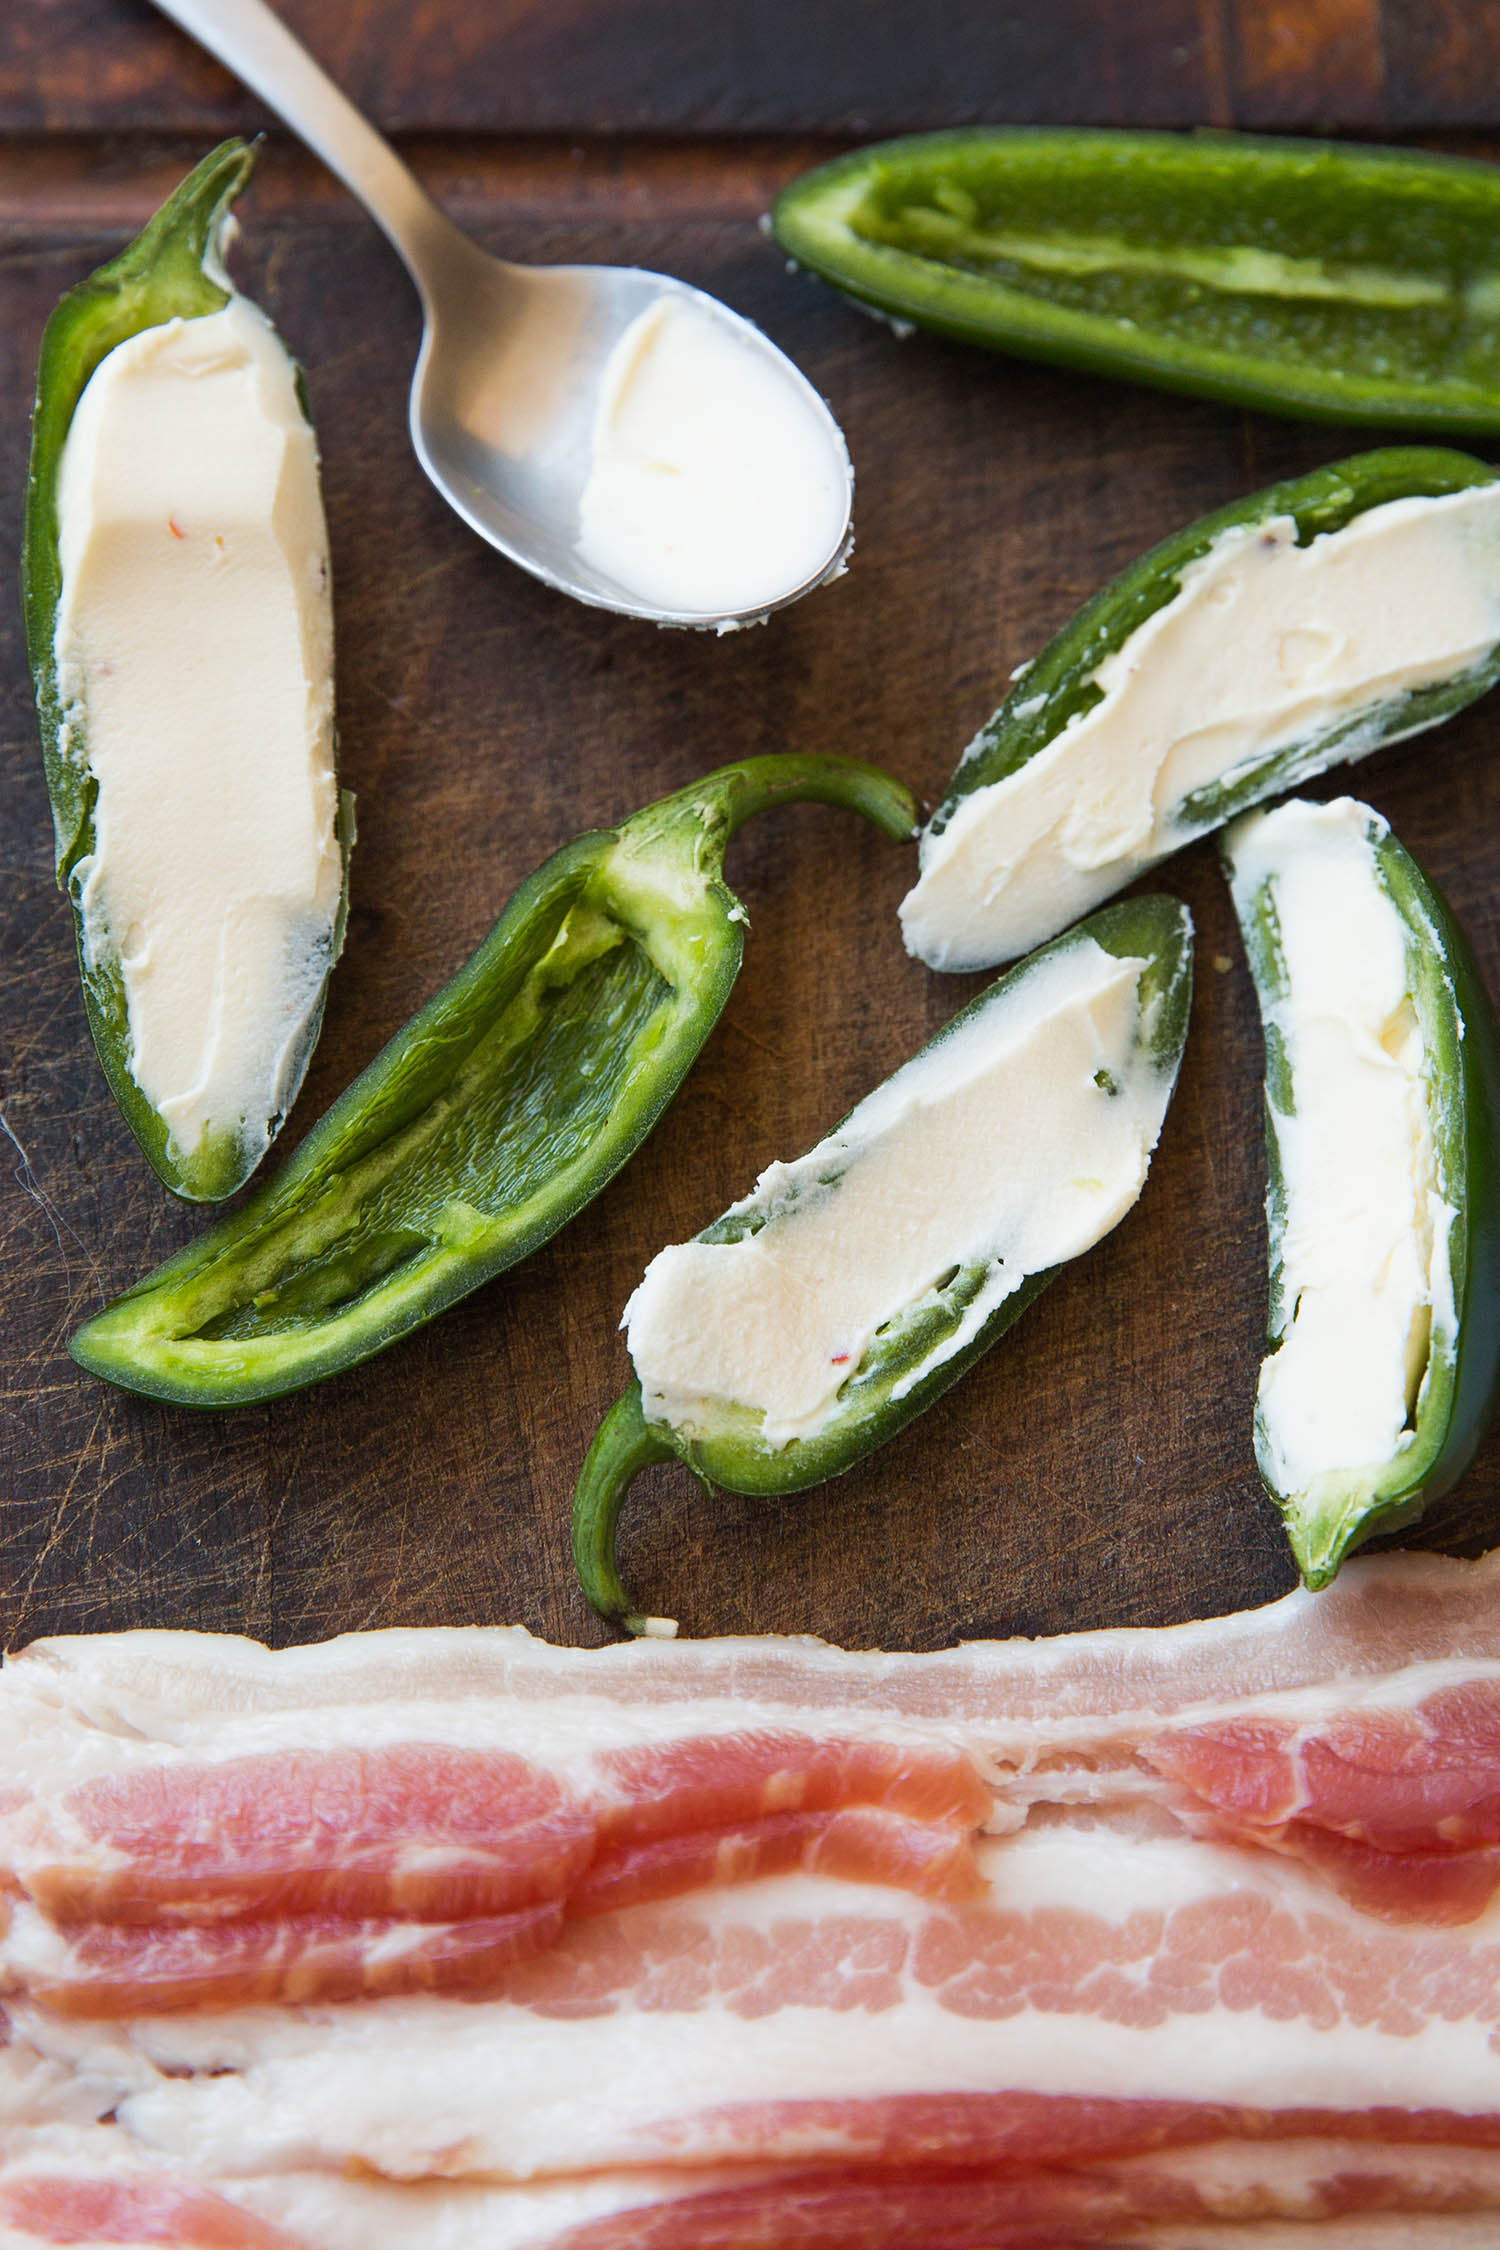
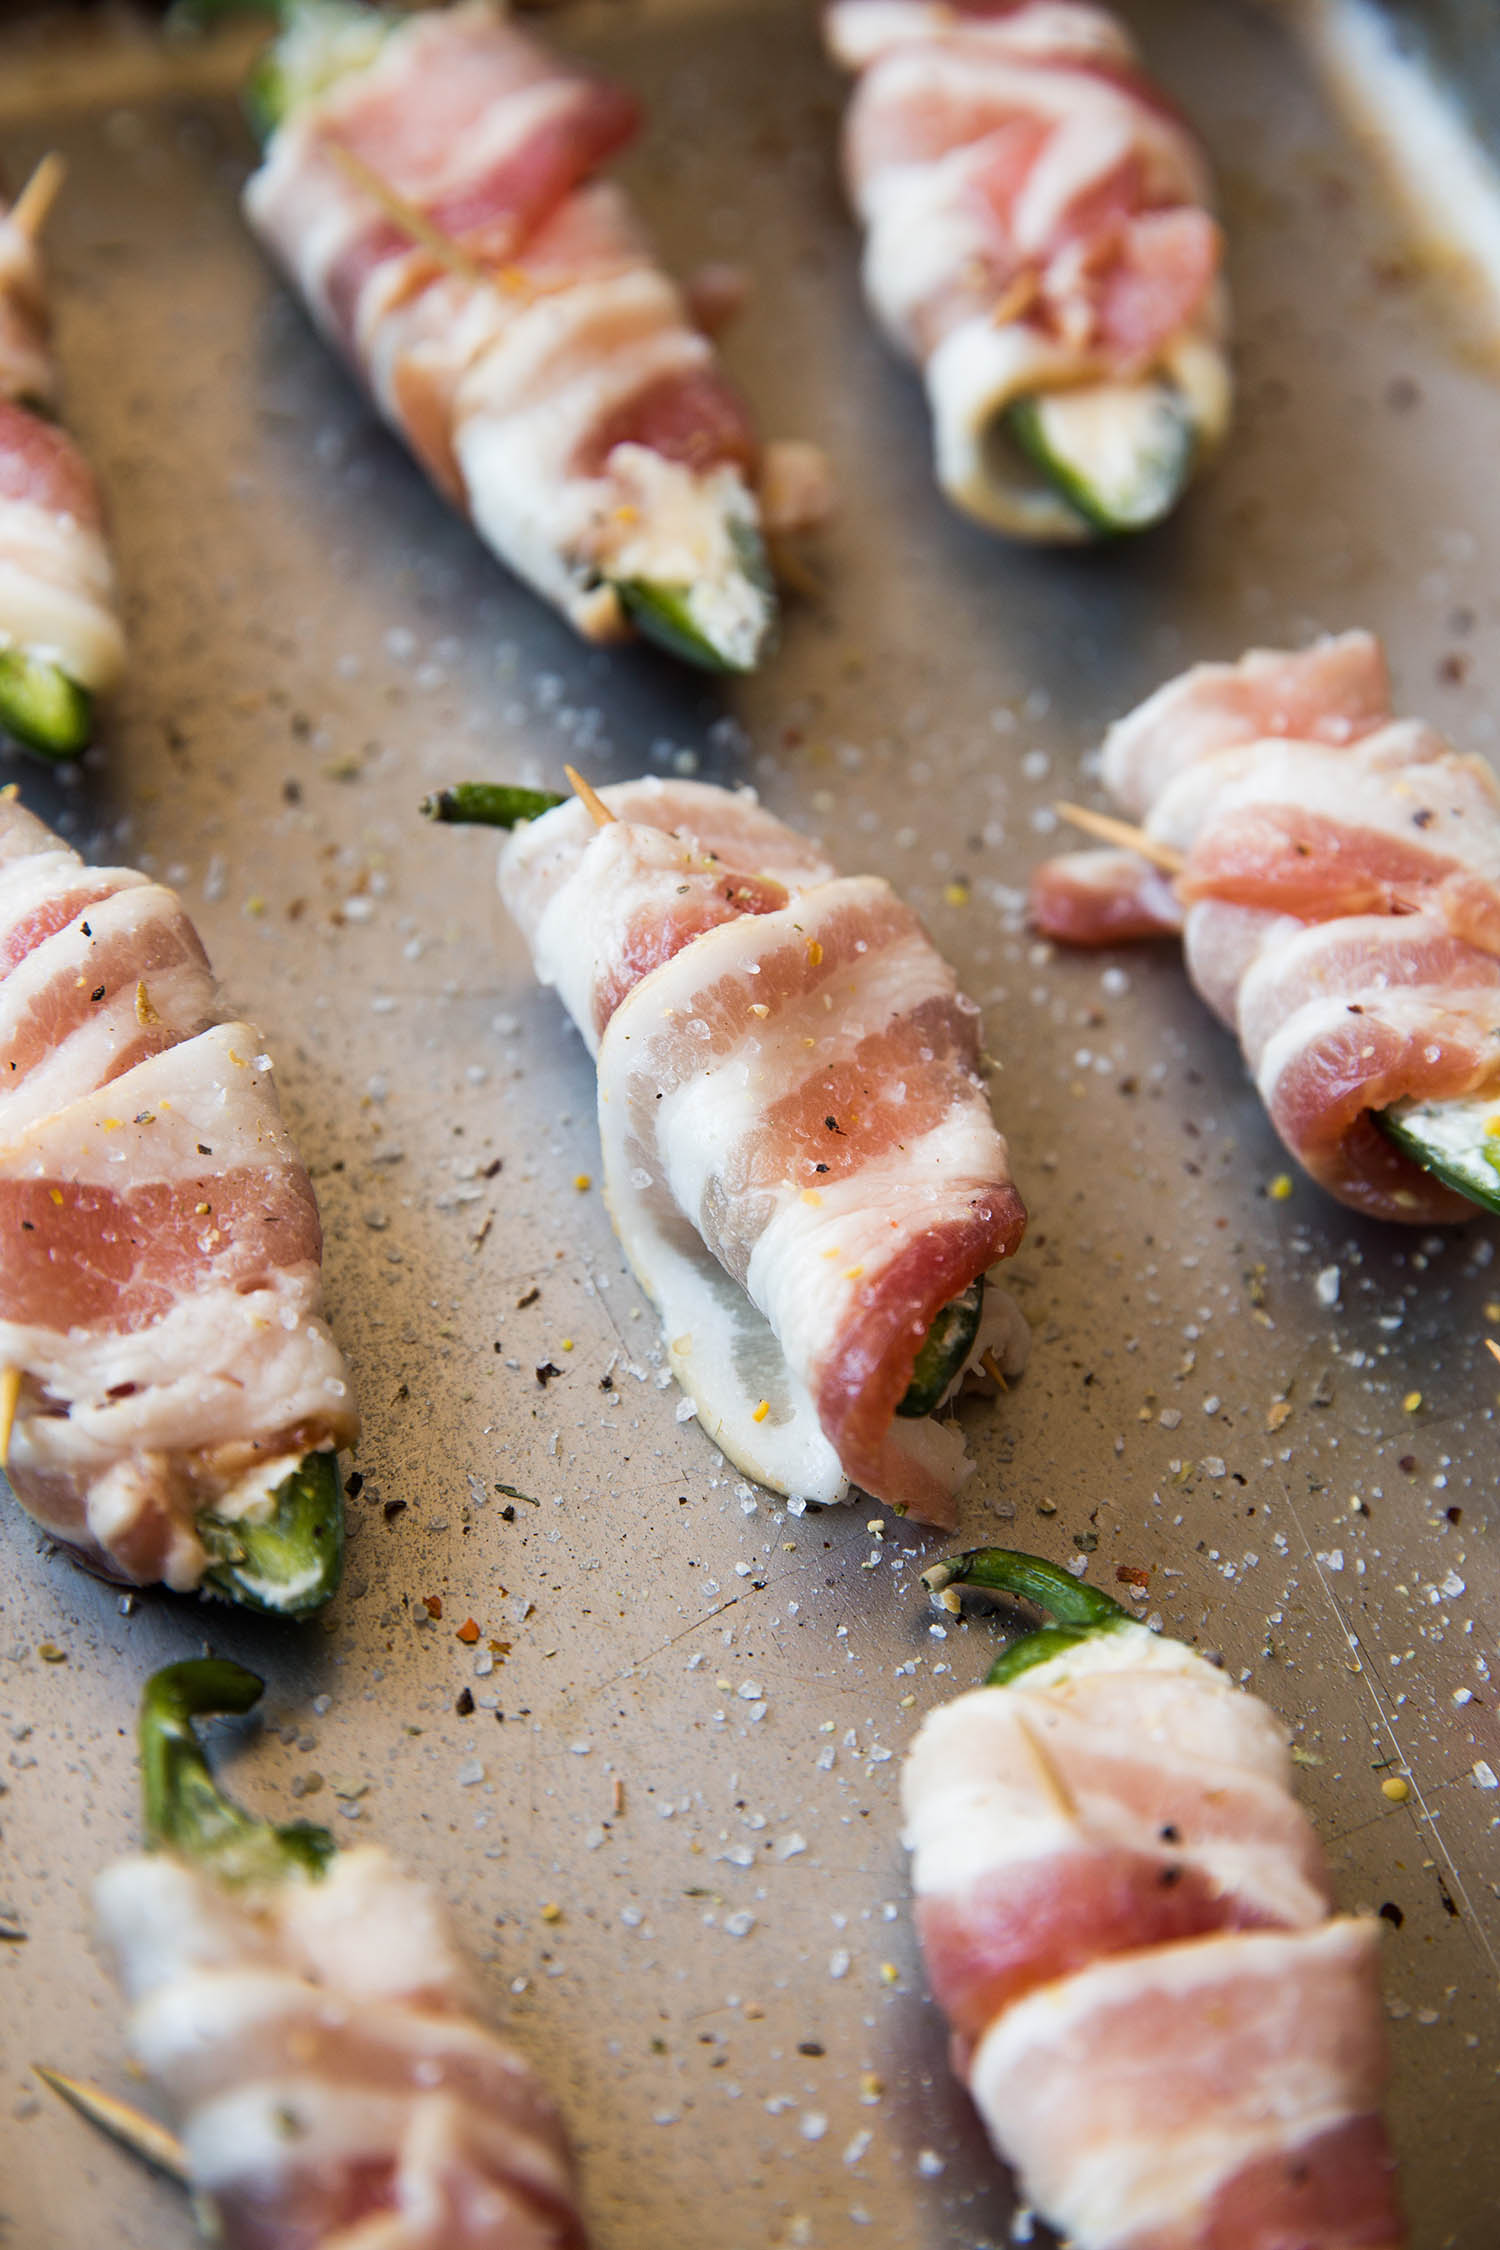
  • 500g of the best quality mussels you can find
  • a handful of coriander
  • 330ml beer
  • 1 small baguette
  • herb butter

Instructions:

Preheat oven to 200 degrees Celsius.

Defrost the mussels and put them in the fridge until you are ready to work with them.

Slice the baguette and butter both sides. 

Take a medium frying pan over a medium to high heat, add a tablespoon of coconut oil and the onions. 

Fry the onions until soft, about 5 minutes.

Add the garlic, red pepper and chili and fry for a further 5 minutes. 

Add 1 teaspoon of honey and fry for a further minute. 

Add your mussels to a cast iron pot, if you don’t have one any oven-proof dish with a lid will do.

Add the onion and red pepper mix on top of your mussels

Once everything has been added to the pot top with 330 ml of beer and seal the pot.

Pop the mussels into the oven for 20 minutes to steam, or until the shells begin to pop open.

For the last five minutes add the baguette to the oven until toasted. 

Serve hot and enjoy with even more beer! 

-Melissa


How to grill the perfect steak and a giveaway with Risoli!

How to grill the perfect steak and a giveaway!

I often get asked, “how do you make the perfect steak?” 

As a proudly South African girl, my first answer is on the grill with an open flame. There is something primal about it that ignites my inner pyromaniac, plus it’s really wonderful cooking on an open flame out in the elements. However, this isn’t always achievable. Add in a howling south easter and that little open flame meant to char a chop can turn into a roaring mountain blaze faster than you can put down the braai tongs. In fact more often than not, in simpler terms, it’s just too much hassle to set up a fire and wait for it to be the correct temperature to grill a single steak. So then what?

Enter Risoli and their marvelous grill pan! Imported from Italy and an absolute essential in the kitchen.  
The best part of the design is that it is non-stick. I love this because a cast iron grill can be such a pain to clean and with the Risoli it is quick and easy! You can focus your energy on cooking rather than cleaning which is right up my alley. 
Nobody likes to wash dishes.  

A grill pan is an essential in the kitchen because it actually goes so much further than just grilling a steak. Essentially you are cooking without added fat making it a healthier cooking method. 
You can grill vegetables as well as meat and my personal favorite, corn. 
I have a habit of trying to incorporate that little yellow ‘mielie’ into as many dishes as I can.
The possibilities are endless, think grilled corn salsa, marinated grilled vegetable salads and of course, chorizo tapas and perfect meat options!  

So, without further adieu - let’s get down to basics. Here are a few tips that I believe will make your life easier in the kitchen: 

Lesson Number 1.
The biggest mistake people make is to put oil into a grill pan. 
This is a big no-no because all you are going to do is smoke out your house. Unless your house is already on fire from that earlier braai attempt in the South Easter – nobody enjoys choking on the thick smoke billowing from an oiled grill pan.
The pan is designed to work with little to no oil. When grilling your steak all you need to do is lightly brush the meat. Lightly. That’s it. If you add more oil it will just cause a mess. 
So lesson no 1, oil the meat - not the pan.

Lesson Number 2.
The second biggest tip is to cook one side and then another. Don’t toss and turn your piece of meat. What I mean is; lightly oil your meat, bring your pan to a high heat and then lay your meat down. The main thing you are looking for is a sizzle! It is all about the sizzle. Once the meat is in the pan, leave it face down for 3 minutes. After 3 minutes turn your meat over and grill for another 3 minutes. You will see the grill marks showing up nicely. Cooking time can vary based on the thickness of your steak as well as how you would like your steak done. I personally only like medium rare to medium. So my cook time on a based on a 2cm thick steak, 3 minutes a side.
Aside from the taste benefit of minimizing the manhandling of your meat – it leaves your steak with a perfect aesthetic; marks on meat that looks more like a grill pan and less like you prepared your meat on chicken coop wire.
I’m a stickler for the details.

Season your meat after grilling with a basic salt and pepper herb mix. 
If your meat is marinated then you won’t need to oil your meat. Just let excess marinade drip off before grilling the meat. 

Lesson Number 3.
Let sleeping meat lie…
Allow for rest time on your meat. You want to be able to rest your meat for 5-10 minutes. 
Remove it from the pan (heat) and put it on a chopping board. 
Cover it with foil to allow the steak to keep warm. 
Resting the meat means it won’t end up in a bloody pool on the plate! (Unless you like that sort of thing...no judgment…okay, maybe a little Hannibal) 

Once rested, slice and serve with a simple chimichurri sauce or cracked salt. See recipe below ... 


Ingredients: 

  • 2 Rump steaks approx 200 grams, cooked according to above method. 
  • A bunch of fresh flat leaf parsley 
  • 1 teaspoon coriander 
  • 1 - 2 garlic cloves 
  • 1/4 red onion
  • 1/2 teaspoon dried oregano 
  • 1/2 red chilli (depending on how hot you like it)
  • 5-6 tablespoons olive oil
  • salt and pepper to taste
  • 1 teaspoon balsamic vinegar 

Instructions: 

Grill the steak and set aside to rest. 

Blend all chimichurri ingredients together and serve on top of sliced steak. 


GIVEAWAY TIME! 

Now for the exciting giveaway! Comment below on what your favourite grilled dish is and you can stand a chance to win this amazing pan! Competition for South Africa only, entries close on the 17th of November. If you share the post on social media from The Truffle Journals facebook page and follow the page, then you score some extra points! Good Luck! 

*This blog post was sponsored by Risoli, all opinions are my own. 

Leopold7, expect the unexpected

There is a new kid on the block in terms of craft beer and I must say I am impressed! A beer that is made with the environment in mind is my kind of beer!

With the theme of “expect the unexpected” I was whisked away to a magical night in Elgin at the Old Mac Daddy Airstream Park. For those of you that don’t know that part of the country, it really is something special. The green rolling hills and quiet forest surroundings make you feel like you are 100 miles from nowhere. Perfect for a picnic and beer under an old oak tree!

Leopold7 is a craft beer that has come to South Africa from Belgium and has hit the shores with amazing flavours of citrus and floral notes. We were treated to tasting notes to get our taste buds going (from popcorn to chocolate truffles) through out the day, which started off by listening to opera in the middle of a farm field. Very much expect the unexpected!

To see a fusion of international beer and local inspiration come to fruition in leopold7 is simply, magical. One minute we were crossbow shooting the next watching synchronized swimmers perform in a lake. All that just to emphasize the boldness that is Leopold7. With a higher than normal alcohol level this beer truly is audacious and with 3 grains and 3 hops blended together with a secret spice (that none of us could guess, let me know if you can) you can truly expect a great tasting beer that is sure to rock beer culture in South Africa!  

-Melissa

Cream cheese and bacon Jalapeños

The one thing I am is proudly South African. I must admit I am not huge into sport but if we are playing I am there in support – love of the game or not. So I decided with it being the Rugby World Cup and The Springboks doing so well, that I needed to do one of my favourite snacks for watching the game. 

This is my version of a proudly South African Chilli Popper.  

If you are reading this and not in South Africa two things 1) you need to come visit because we are a beautiful country and 2) don’t panic, you can still make these with a few adjustments for what ever game you will be watching in the world! 

They are quick to make and you will love them because they are packed with flavour and bringing them out to the celebrations on a platter will make you the star of the day! Just make sure the beer is cold! 


serves 6

Ingredients: 

  • 12 large jalapeño’s- cut in half and pitted
  • 250 grams sweet chilli cream cheese
  • 1 packet of streaky bacon 
  • 250 grams crème fraiche 
  • 150 grams biltong dust (optional if you are not in South Africa) 
  • *Biltong – A south African cured meat, a lot like Beef Jerky  
  • Salt and pepper to taste 

Instructions: 

Preheat your oven to 180 degrees Celsius. 

If you haven’t, cut your Jalapenos in half and remove the seeds (these are the spiciest part, so if you are feeling brave you can leave some in) 

Spoon in your cream cheese into the hallow of the Jalapeno 

Grab a piece of streaky bacon and wrap it around the filled jalapeños. You can secure the bacon with toothpicks. Just remind your guest to remove them before eating! 

Place them on your roasting tray and season them with salt and pepper. Not too much salt as the bacon is already salty. 

Pop them in the oven for 15 minutes and for the last 5 minutes put the grill on the make them golden on the top. 

While they are in the oven whisk together your crème fraiche and biltong powder. 

Serve the poppers fresh out of the oven with cold beer and dipping sauce! 

-Melissa